Cake pops are tiny desserts with big party energy. They’re colorful, customizable, and instantly make any table look festive—without needing advanced baking skills. Whether you’re planning a birthday, baby shower, holiday party, or just a fun weekend activity, cake pops are always a crowd-pleaser.
And the best part? You don’t need to be a professional baker to make them look amazing.
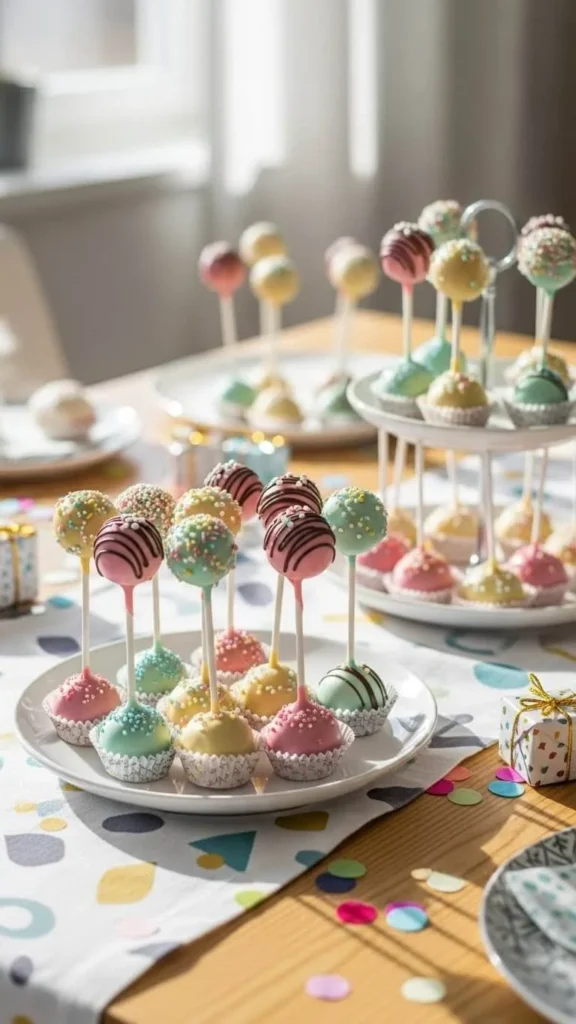
Let’s break it down step by step so you can confidently make fun, party-ready cake pops that everyone will love.
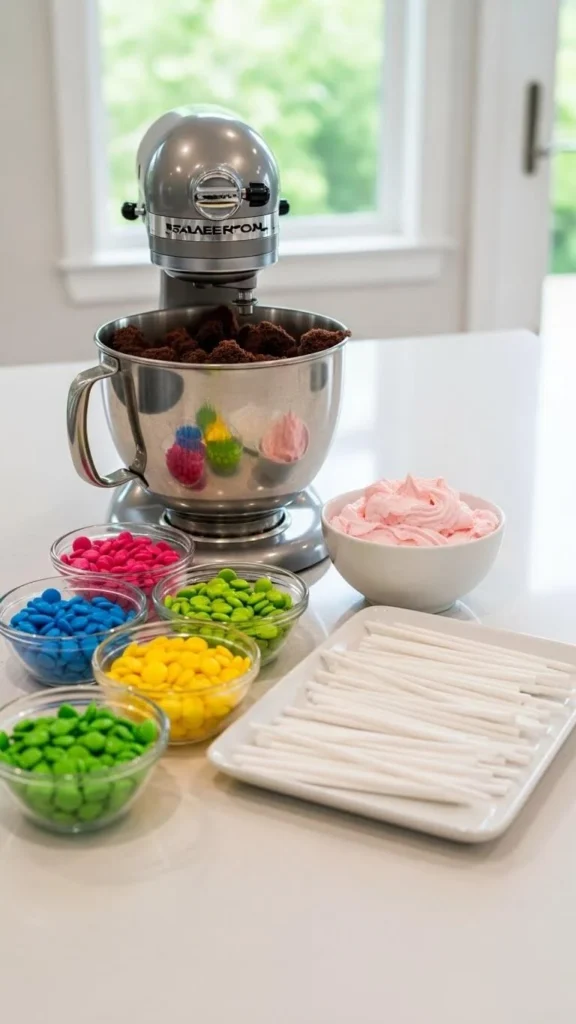
What You’ll Need (Simple Ingredients)
Before you start, gather everything so the process feels smooth and stress-free.
Basic Ingredients
- 1 baked cake (boxed or homemade, any flavor)
- ½ to ¾ cup frosting (matching or complementary flavor)
- Candy melts or chocolate (white, milk, or colored)
- Lollipop sticks
- Sprinkles, crushed cookies, or edible decorations
Helpful Tools
- Mixing bowl
- Baking sheet
- Parchment paper
- Microwave-safe bowl
- Styrofoam block or tall glass for drying
Tip: Boxed cake works perfectly here—this is one time shortcuts are encouraged!
Step 1: Crumble and Mix the Cake
Once your cake is fully cooled, crumble it into fine crumbs using clean hands or a fork.
Add frosting a little at a time and mix until:
- The texture feels like soft dough
- It holds together when pressed
- It’s not sticky or wet
You want just enough frosting to bind the cake—too much can make the pops greasy or heavy.
Pro tip: Start with less frosting. You can always add more.
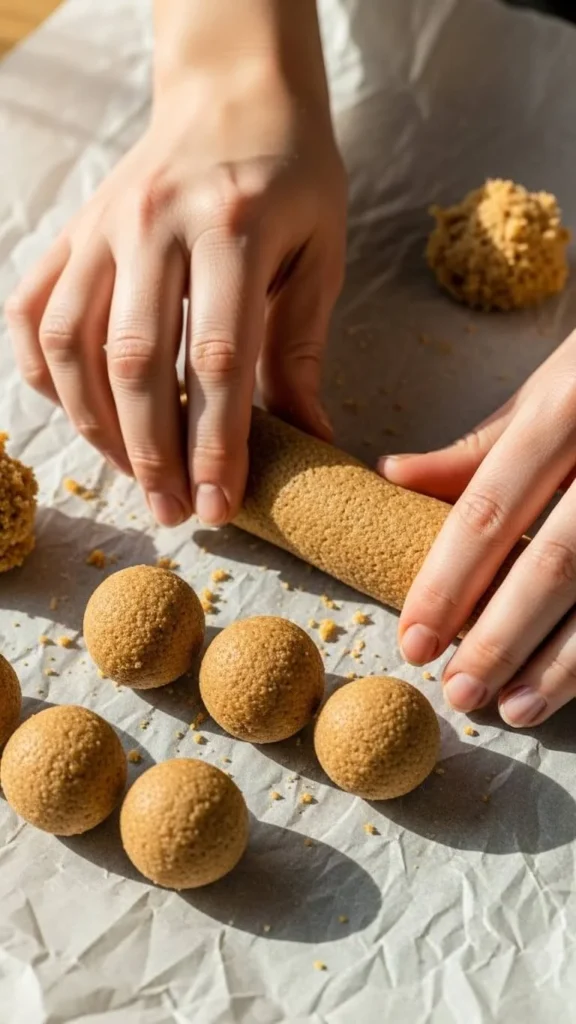
Step 2: Shape the Cake Balls
Roll the mixture into evenly sized balls, about 1 to 1½ inches wide.
- Place each ball on a parchment-lined baking sheet
- Try to keep them uniform so they look neat on display
Once rolled, chill them:
- Refrigerator: 20–30 minutes
- Freezer: 10–15 minutes
This step helps the cake pops stay firm during dipping.
Step 3: Insert the Sticks (The Secret to No Falling Pops)
Melt a small amount of candy melts or chocolate.
- Dip the tip of each lollipop stick into the melted chocolate
- Insert it halfway into a chilled cake ball
- Let it set for a few minutes
This acts like edible glue and keeps your cake pops from sliding off later.
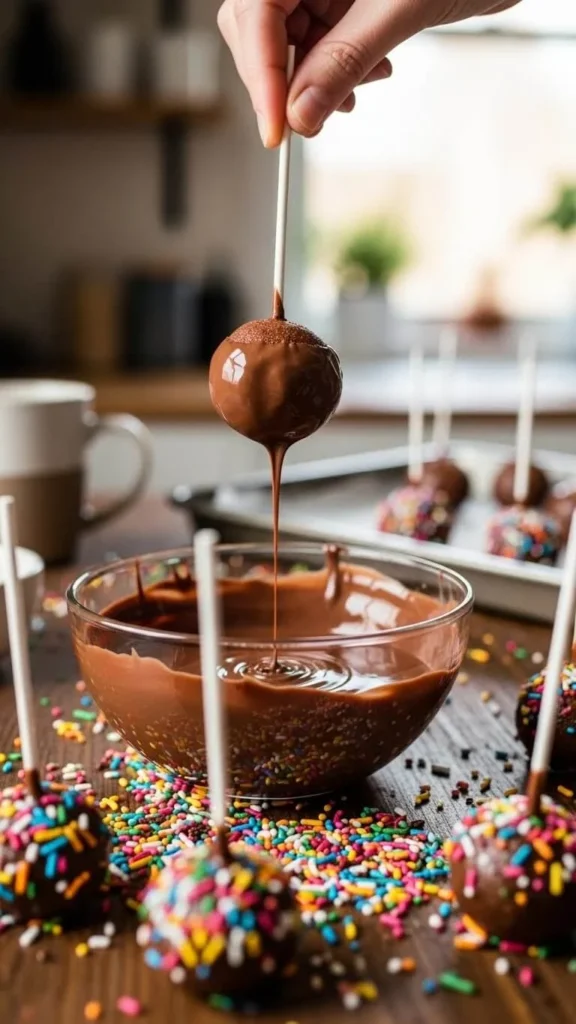
Step 4: Dip and Decorate Like a Pro
Now comes the fun (and slightly messy) part.
How to Dip Smoothly
- Melt candy melts in short microwave intervals
- Stir until smooth and fluid (not thick)
- Hold the stick and dip the cake pop straight down
- Gently tap off excess coating
Immediately decorate while the coating is still wet.
Decoration ideas:
- Rainbow or themed sprinkles
- Chocolate drizzle
- Crushed Oreos or nuts
- Edible glitter for parties
Place finished pops upright in a Styrofoam block or tall glass to dry completely.
Fun Party Themes to Try
Cake pops are perfect for matching your party theme. Here are easy ideas guests love:
- Birthday parties: Bright colors, rainbow sprinkles, fun drizzle
- Kids’ parties: Character colors, smiley faces, candy eyes
- Baby showers: Pastels, pearl sprinkles, simple designs
- Holidays:
- Red & green for Christmas
- Orange & black for Halloween
- Pink & red for Valentine’s Day

Make-Ahead & Storage Tips
Planning ahead? Cake pops are very party-friendly.
- Undipped cake balls can be refrigerated for 2 days
- Fully decorated cake pops stay fresh:
- Room temperature: 1 day
- Refrigerator: up to 5 days
If chilling after decorating, let them come to room temperature before serving to avoid condensation.
Common Cake Pop Problems (And Easy Fixes)
- Cracks in coating: Cake balls too cold → let them sit a few minutes before dipping
- Cake pop falls off stick: Not enough chocolate “glue” → always dip stick first
- Thick coating: Add a little coconut oil to thin melted chocolate
Don’t worry—slightly imperfect cake pops still taste amazing.
Final Thoughts: Small Treats, Big Smiles
Cake pops are proof that you don’t need fancy desserts to impress. With simple ingredients, a little creativity, and these easy steps, you can make party-ready cake pops that look adorable and disappear fast.
Whether you’re making them for kids, guests, or just for fun, they’re guaranteed to bring smiles.
✨ Save this recipe for your next party, and don’t forget to pin it for later!
Leave a Reply