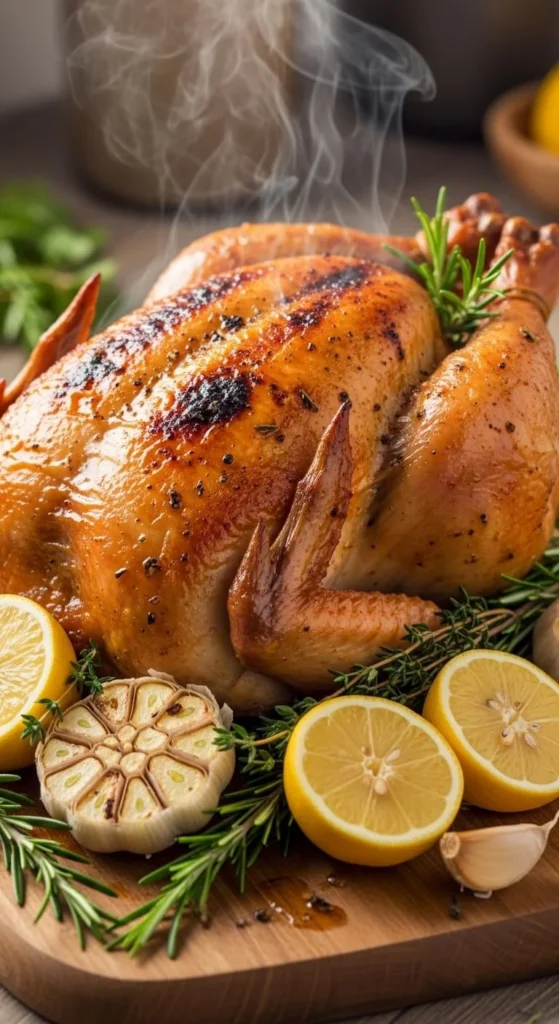
There’s something magical about a golden, juicy roast chicken — the kind that fills your kitchen with the smell of butter, herbs, and Sunday comfort. It’s the kind of meal Grandma used to make — crispy on the outside, tender and flavorful on the inside. The best part? You don’t need fancy tools or chef tricks. Just a few simple ingredients, a good oven, and some patience.
Let’s bring back that old-fashioned comfort with this step-by-step guide to roasting the perfect chicken — Grandma-style!
Step 1: Gather Simple, Fresh Ingredients
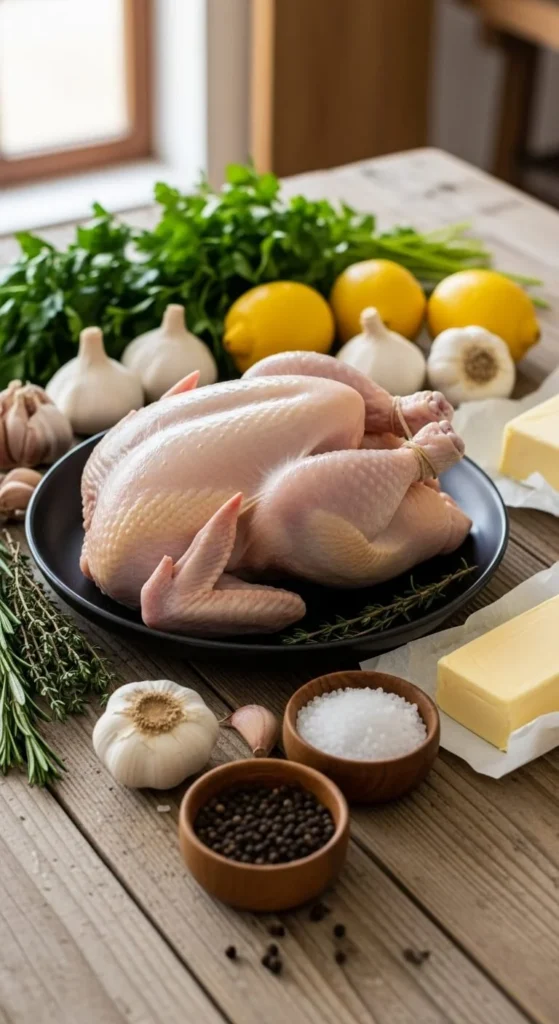
Before you even turn on the oven, get everything ready. Here’s what you’ll need:
- 1 whole chicken (about 3–4 lbs)
- 4 tablespoons softened butter
- 1 lemon, halved
- 5 cloves garlic, crushed
- Fresh herbs (rosemary, thyme, parsley)
- Salt and black pepper
- Olive oil
Fresh ingredients make all the difference here — just like Grandma always said, “Start simple, and let the food speak for itself.”
Step 2: Prep the Chicken for Perfection
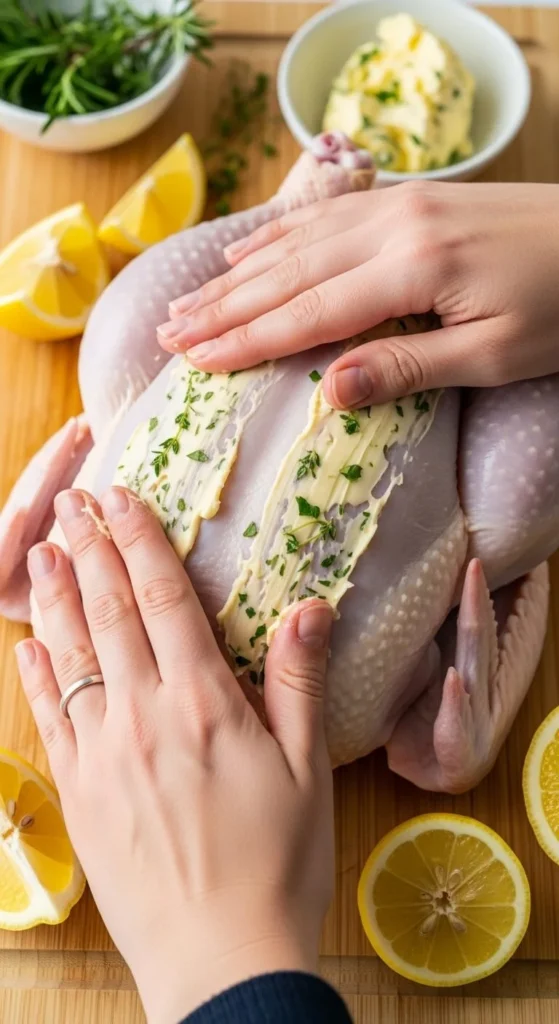
Take your chicken out of the fridge about 30 minutes before roasting. This helps it cook evenly. Pat it dry with paper towels — moisture is the enemy of crispy skin!
Then comes the secret to Grandma’s juicy chicken: butter under the skin.
- Gently lift the skin over the breast and slide in a bit of butter mixed with herbs and garlic.
- Rub the rest of the butter all over the outside.
- Sprinkle generously with salt and pepper.
- Stuff the cavity with lemon halves, garlic, and herbs.
This butter-herb mix melts as it cooks, keeping the meat moist and flavorful.
Step 3: Roast Low and Slow
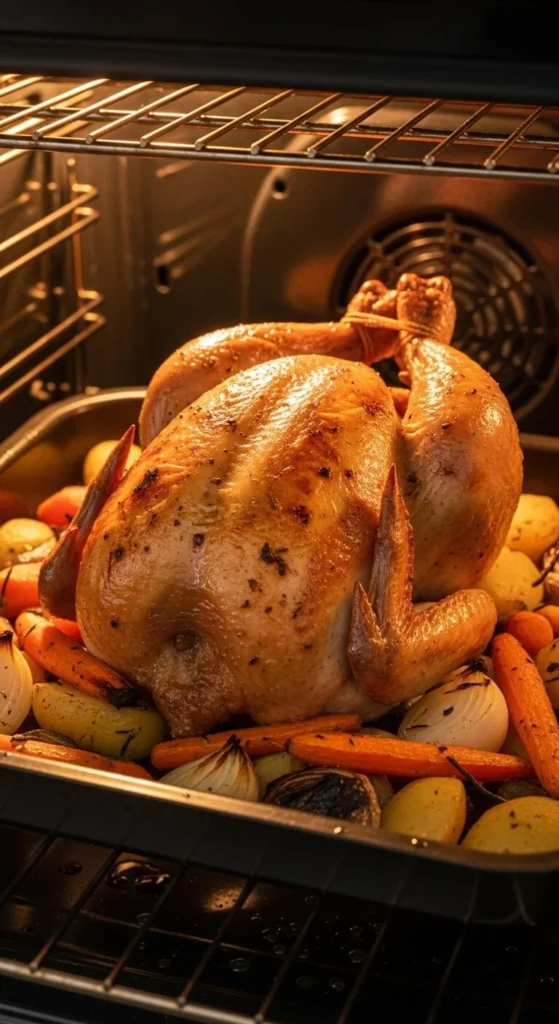
Place the chicken breast-side up on a roasting pan or oven-safe skillet.
Roast at 425°F (220°C) for the first 20 minutes to crisp up the skin, then lower the temperature to 375°F (190°C) and cook for another 45–60 minutes, depending on the size of the chicken.
Here’s how to tell it’s done:
- The juices should run clear when pierced near the thigh.
- Internal temperature should reach 165°F (74°C).
Tip: Halfway through roasting, baste the chicken with the melted butter and pan juices. That’s the golden touch Grandma never skipped!
Step 4: Let It Rest Before Carving
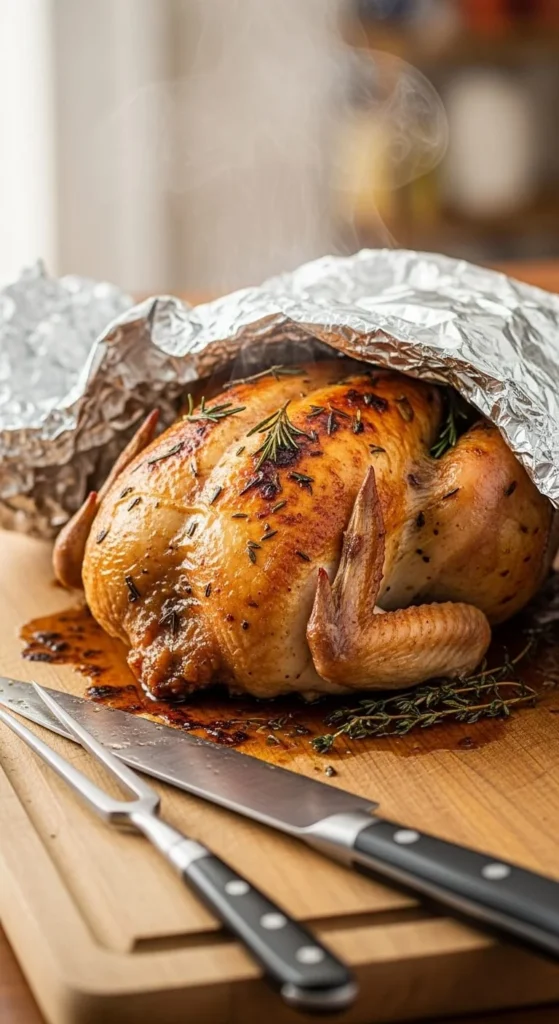
Resist the urge to cut right in! Once it’s done, take the chicken out and let it rest for 15 minutes under a loose foil tent.
This allows the juices to redistribute — meaning every bite stays juicy, not dry. You’ll thank yourself later when you carve into that perfectly moist breast meat.
Step 5: Serve with Grandma’s Style
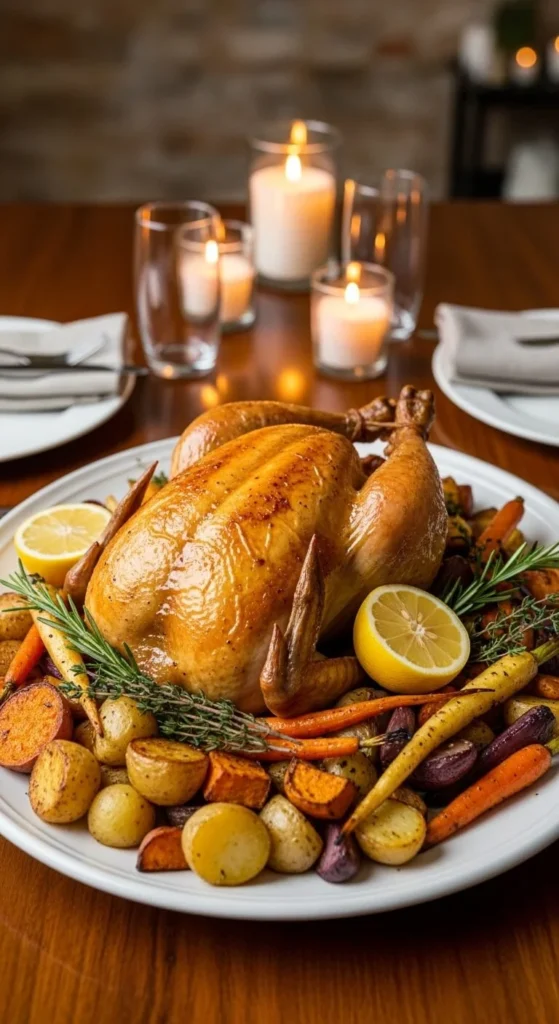
Now for the best part — serving your masterpiece. Slice the chicken gently, serve it with the roasted veggies from the pan, and maybe drizzle a little of those pan juices on top for extra flavor.
For a full Sunday dinner experience, pair it with:
- Mashed potatoes
- Green beans with garlic
- Homemade gravy
It’s not just dinner — it’s nostalgia on a plate.
Step 6: Bonus Tip — Make Broth from the Bones
Don’t toss that carcass! Grandma never wasted a thing.
- Throw the leftover bones, onion, carrot, celery, and a few herbs into a pot.
- Cover with water and simmer for 2–3 hours.
You’ll end up with a rich homemade chicken broth — perfect for soups, stews, or even your next roast chicken.
The Takeaway
A roast chicken might seem simple, but it’s pure comfort in every bite. From the buttery crispy skin to the tender, flavorful meat, it’s the kind of meal that feels like home.
So next time you’re craving something warm, skip takeout and roast like Grandma.
🍗 Save this recipe for a cozy Sunday dinner — your kitchen will thank you!
Leave a Reply