If you’ve ever tried gluten-free bread, you probably know the struggle. It’s often dry, crumbly, dense, or has that weird aftertaste. The kind you toast just to make it edible. 🙃
But here’s the good news: soft, fluffy, gluten-free bread that tastes like real bread is absolutely possible at home—no fancy bakery required.
This guide walks you through the why, the how, and the little secrets that make all the difference.
Why Most Gluten-Free Bread Fails (and How We’ll Fix It)
Gluten is what gives regular bread its stretch and chew. Without it, many recipes fall flat—literally.
Common problems include:
- Too dry or crumbly
- Gummy centers
- Dense, brick-like loaves
The solution? The right flour blend, proper moisture, and a batter-style dough (not a kneadable one). Once you understand this shift, everything changes.
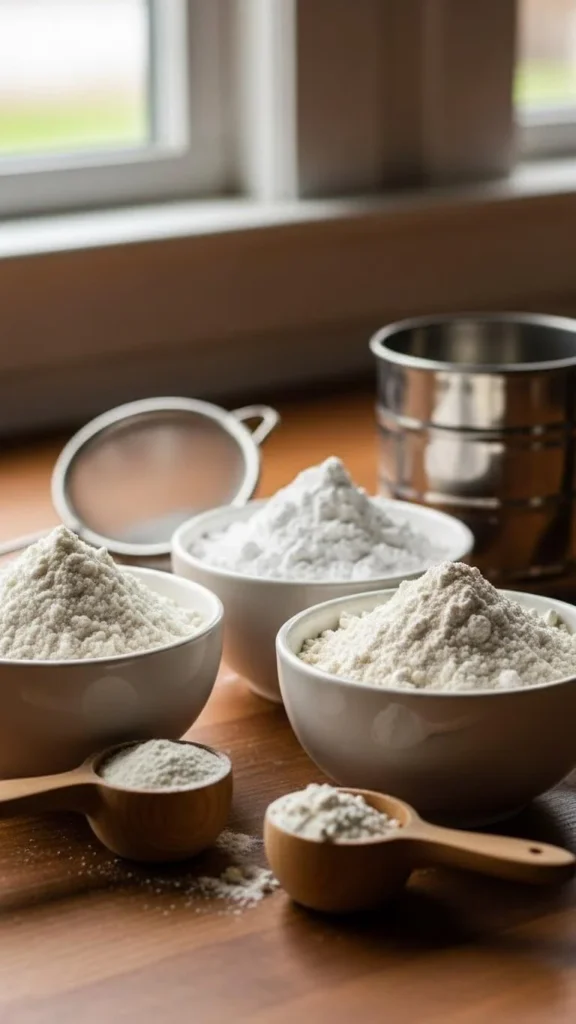
The Best Gluten-Free Flour Blend for Soft Bread
Not all gluten-free flours are created equal. Using just one (like rice flour) rarely works.
A balanced blend should include:
- Base flour: Rice flour or sorghum flour
- Starch: Tapioca starch or potato starch (for softness)
- Structure helper: Xanthan gum or psyllium husk
Simple homemade blend idea:
- 2 cups rice flour
- ⅔ cup tapioca starch
- ⅓ cup potato starch
- 1½ teaspoons xanthan gum (skip if your blend already includes it)
Ingredients You’ll Need (No Weird Stuff)
Here’s what makes this bread soft, flavorful, and reliable:
- Gluten-free flour blend (as above)
- Warm milk or dairy-free milk
- Eggs (or flax eggs for vegan)
- Oil or melted butter
- Sugar or honey (for yeast activation)
- Instant yeast
- Salt
- Apple cider vinegar (trust me—it improves texture)
👉 Why vinegar?
It strengthens the dough structure and removes that “raw flour” taste.
Step-by-Step: How to Make Soft Gluten-Free Bread
This dough is more like thick cake batter than traditional bread dough—and that’s exactly what you want.
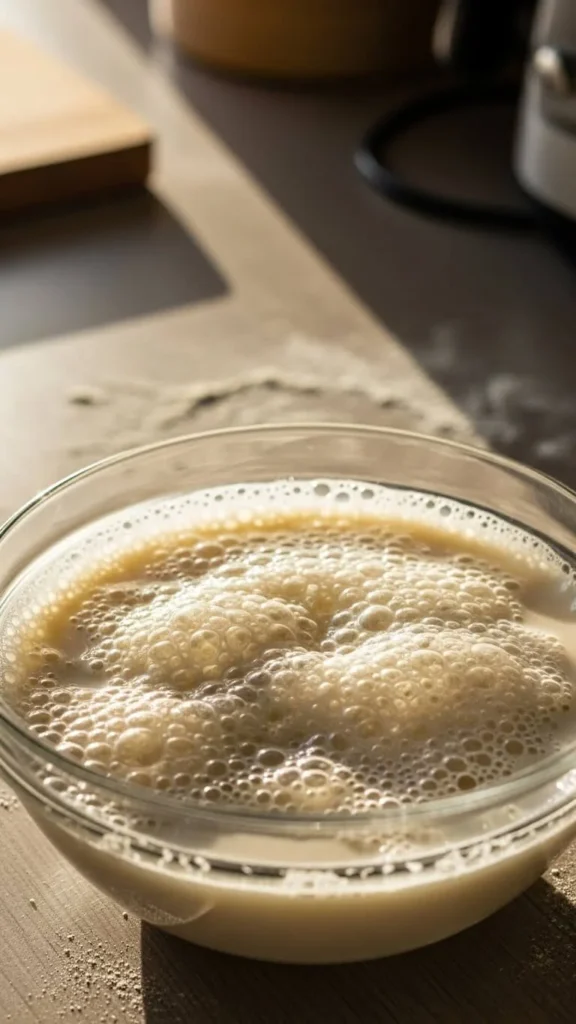
1. Activate the Yeast
Mix warm milk, sugar, and yeast. Let it sit for 5–10 minutes until foamy.
2. Mix the Batter-Style Dough
In a large bowl:
- Add flour blend and salt
- Pour in yeast mixture, eggs, oil, and vinegar
- Beat for 3–4 minutes until smooth and thick
💡 Don’t knead. Mixing builds structure here.
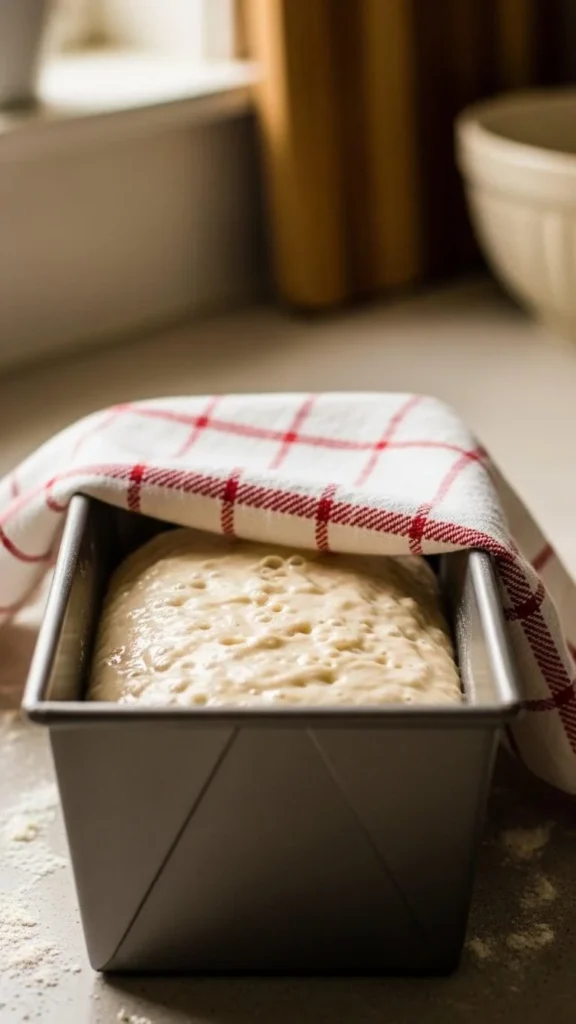
3. Let It Rise (Once Is Enough)
Transfer the batter to a greased loaf pan. Smooth the top with a wet spatula.
Cover loosely and let rise for 30–45 minutes, until slightly domed.
Baking Tips for a Soft, Not Gummy Loaf
- Bake at 375°F (190°C) for 40–45 minutes
- Tent loosely with foil if the top browns too fast
- Internal temperature should reach ~200°F (93°C)
Once baked, let it cool completely before slicing. Cutting too early = gummy center.
How to Store Gluten-Free Bread (So It Stays Soft)
Gluten-free bread dries out faster than regular bread—but storage matters.
Best options:
- Room temp: 1–2 days, tightly wrapped
- Fridge: Not recommended (dries it out)
- Freezer: Slice first, freeze up to 2 months
Toast straight from frozen for best texture.
Easy Flavor Variations to Try
Once you master the base recipe, have fun with it:
- Add herbs + garlic for savory bread
- Mix in seeds for texture
- Swirl in cinnamon and honey for breakfast bread
Small tweaks = big bakery vibes at home.
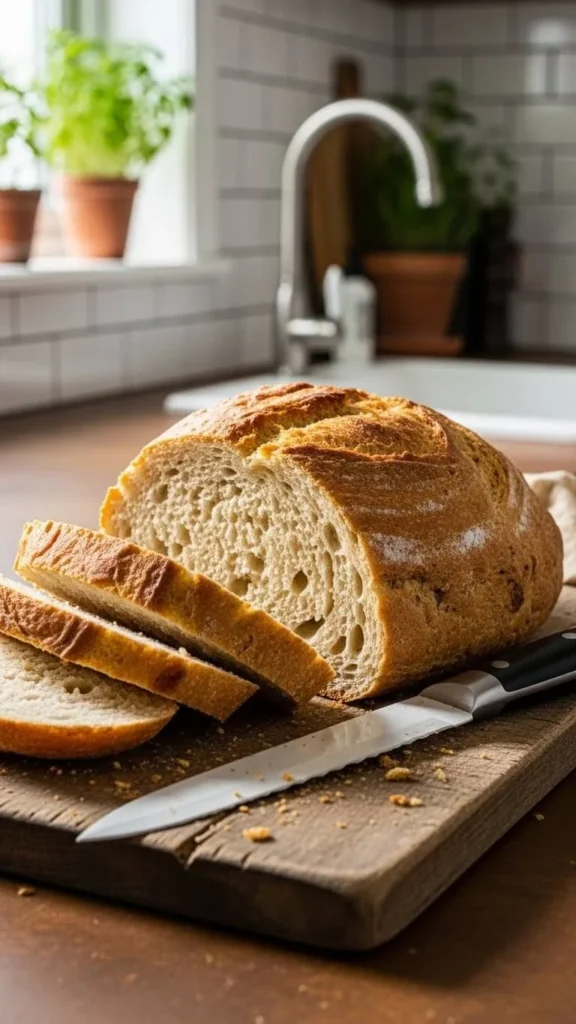
Final Thoughts: Yes, Gluten-Free Bread Can Be Amazing
Soft. Sliceable. Toast-worthy.
This isn’t “good for gluten-free”—it’s just good bread.
Once you understand the batter-style method and moisture balance, you’ll never go back to store-bought loaves again.
✨ Save this recipe for later, and share it with anyone who thinks gluten-free bread can’t be soft.
Leave a Reply