This recipe gives you a velvety, protein-rich Greek yogurt you can eat plain, swirl with honey, top with granola, or use in dips, marinades, smoothies, and baked goods. All you need is time and a little patience—no yogurt maker required!

🛒 What You’ll Need

- 1 liter (or 4 cups) whole milk (full-fat for creamiest results)
- 2 tablespoons plain yogurt with live active cultures (as a starter)
- Optional: Cheesecloth or a fine mesh strainer for thickening
👩🍳 Pro Tips
- Use fresh, whole milk—it makes creamier yogurt.
- Don’t boil the milk, just heat it gently to 180°F (to kill unwanted bacteria).
- Use plain yogurt with live cultures—check the label!
- The longer you strain, the thicker your yogurt. 2 hours = creamy, 6 hours = very thick.
- Save 2 tablespoons of your finished yogurt as the starter for next time.
🧰 Tools You’ll Need
- Medium saucepan
- Cooking thermometer (optional but helpful)
- Whisk or spoon
- Cheesecloth or thin cotton towel
- Fine mesh strainer or colander
- Bowl for straining
- Glass jars or containers for storing
🔄 Substitutions & Variations
- Low-fat version: Use 2% milk (texture will be lighter).
- Dairy-free: Try with canned full-fat coconut milk + vegan probiotic starter.
- Flavored ideas: Add vanilla, maple syrup, or fruit purée after straining.
- Extra protein: Add a spoonful of whey protein after cooling.
⏱️ Make Ahead Tips
- Yogurt takes about 6–12 hours to culture, so plan ahead.
- Strained yogurt (Greek style) can be stored in the fridge for up to 1 week.
- Save whey for smoothies, soups, or baking!
👩🍳 Instructions
1. Heat the Milk
Pour milk into a saucepan and heat over medium heat until it reaches 180°F (82°C). Stir occasionally so it doesn’t scorch. Then let it cool to 110°F (43°C)

2. Add the Starter Yogurt
Once the milk cools to 110°F, whisk in 2 tablespoons of plain yogurt with live cultures. Stir gently until fully mixed.

3. Let It Incubate
Cover the pot with a lid or towel and place it in a warm, draft-free place for 6–12 hours. An oven with the light on, a turned-off Instant Pot, or a wrapped towel in a warm corner all work well.

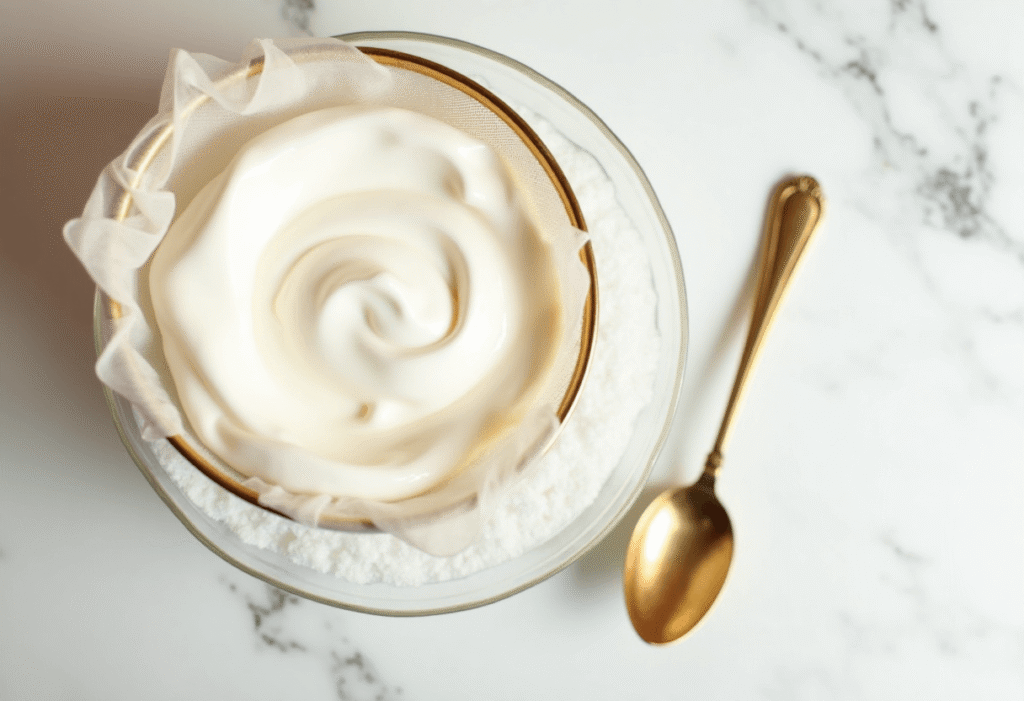
4. Strain the Yogurt (for Greek Style)
Place a cheesecloth-lined strainer over a bowl. Pour the yogurt in and let it strain for 2–6 hours, depending on desired thickness.
5. Store & Enjoy
Transfer to clean jars or containers. Chill before serving. Enjoy plain or with toppings like fruit, honey, or nuts!

🧊 Leftovers & Storage
- Store in airtight containers in the fridge for up to 7–10 days.
- Save a couple tablespoons to use as your next starter!
- If whey separates, just stir it back in or use it in smoothies or baking.
💬 Final Thoughts
Making Greek yogurt at home is simple, satisfying, and saves so much money in the long run! It’s creamy, wholesome, and totally customizable. Once you make your own, you’ll never want to go back to store-bought. Let me know how yours turned out—did you strain it thick? Add honey and berries? I’d love to hear how you served it!
Leave a Reply