These Cream Cheese Bars are a dessert dream: soft, buttery crust, a lusciously tangy cream cheese filling, and just the right balance of sweetness. Think cheesecake meets cookie bar—but way easier to make!

Whether you’re baking for a party, potluck, after-school treat, or just a cozy night in, these bars are always a hit. They’re kid-approved, easy to slice and serve, and you can dress them up with fruit swirls, chocolate chips, or a dusting of powdered sugar.
🛒 What You’ll Need
For the Crust and Topping:

- 1 cup unsalted butter, softened
- 1 cup granulated sugar
- 2 large eggs
- 1 teaspoon vanilla extract
- 2½ cups all-purpose flour
- ½ teaspoon baking powder
- ¼ teaspoon salt
For the Cream Cheese Filling:
- 16 oz cream cheese, softened
- ¾ cup granulated sugar
- 1 large egg
- 1 teaspoon vanilla extract
👩🍳 Pro Tips for the Best Cream Cheese Bars
- Soften your cream cheese and butter fully for the smoothest texture.
- Line your pan with parchment paper for easy lifting and clean slicing.
- Cool completely before cutting to let the filling set.
- Want a swirl? Dollop a spoonful of jam over the filling and swirl before baking.
- Top with powdered sugar or fruit for a simple, elegant finish!
🛠 Tools You’ll Need
- 9×13 baking pan
- Parchment paper
- Mixing bowls
- Hand mixer or stand mixer
- Measuring cups & spoons
- Spatula or offset knife
🔄 Substitutions & Variations
- Add fruit swirl: Drop spoonfuls of raspberry jam or lemon curd and swirl with a knife
- Chocolate chips: Stir into the crust or sprinkle on top before baking
- Make it citrusy: Add lemon zest to the filling for a refreshing twist
- Gluten-free version: Use a 1:1 gluten-free flour substitute
⏰ Make Ahead Tips
- Make and refrigerate the whole pan up to 2 days in advance
- Freeze bars after baking—slice and freeze for up to 2 months
- Chill before serving for cleaner slices and best texture
👩🍳 How to Make Cream Cheese Bars
1. Make the Crust & Topping
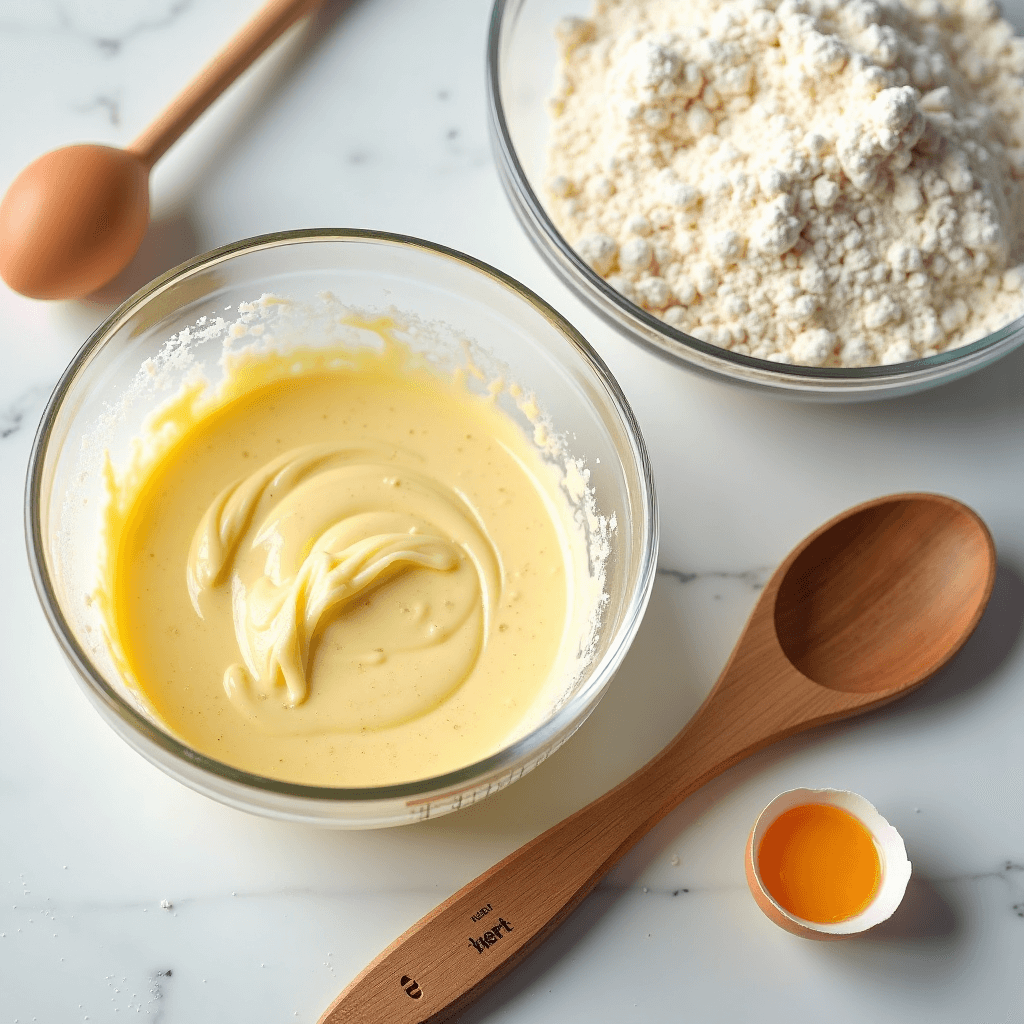
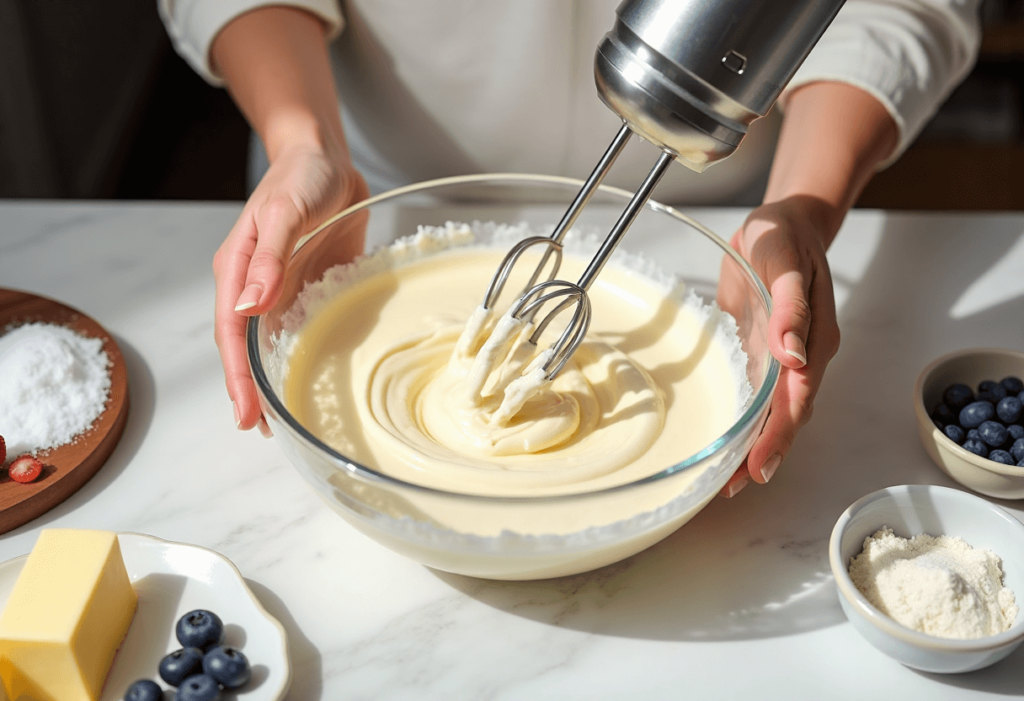
Preheat oven to 350°F (175°C). In a bowl, cream butter and sugar until light and fluffy. Beat in eggs and vanilla, then stir in flour, baking powder, and salt. Set aside 1½ cups of this dough for the topping.
2. Press Dough into Pan
Press the remaining dough into a parchment-lined 9×13 pan, spreading it evenly as the crust.

3. Make the Filling
In a separate bowl, beat together cream cheese, sugar, egg, and vanilla until smooth and creamy.
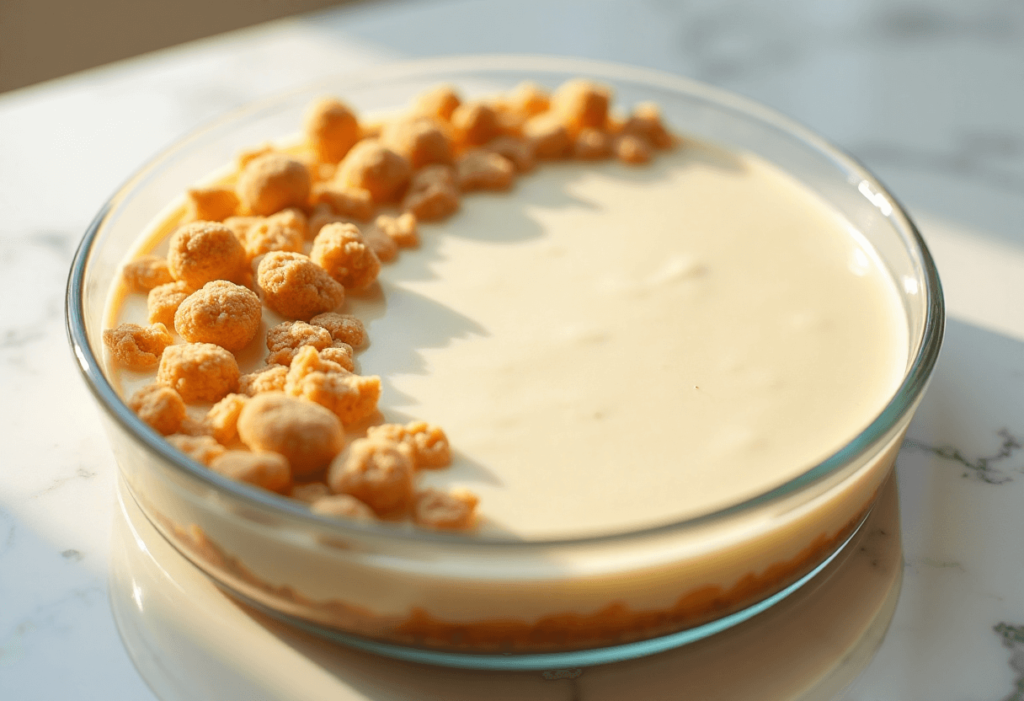
4. Assemble the Bars
Spread the cream cheese filling over the crust. Crumble or drop the reserved dough evenly on top.
5. Bake & Cool
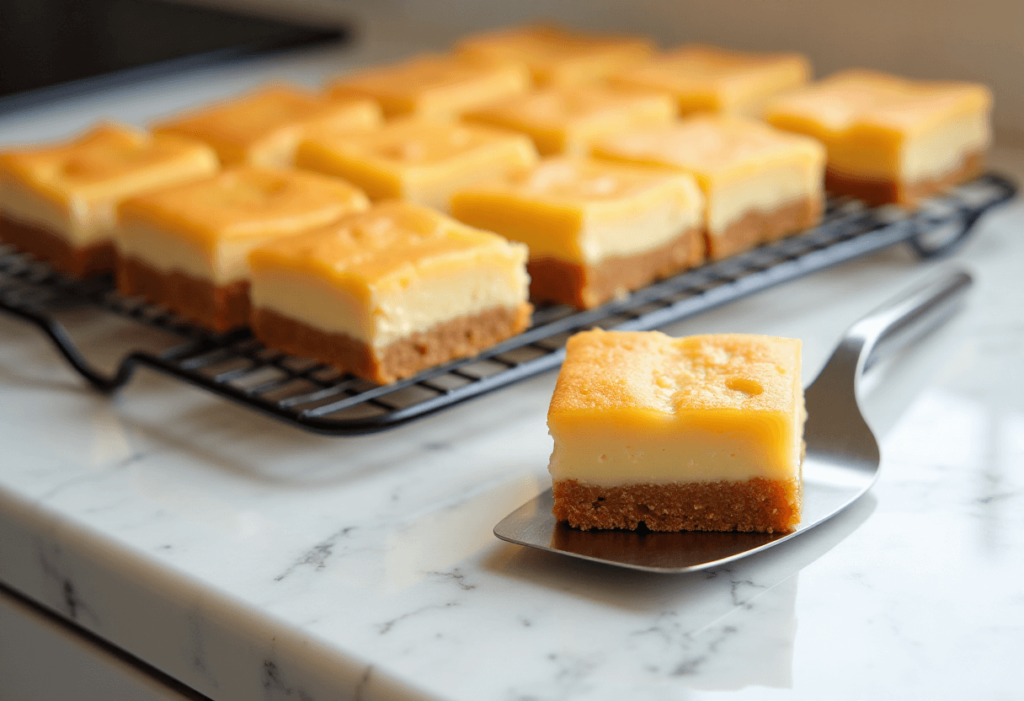
Bake at 350°F for 30–35 minutes, until the top is golden and the center is just set. Cool completely before slicing.
🧊 Leftovers & Storage
- Fridge: Store bars in an airtight container for up to 5 days
- Freeze: Wrap individually and freeze up to 2 months
- Serve chilled or room temp—both are delicious!
🍰 Soft, Creamy & Totally Addictive
These Cream Cheese Bars are the kind of dessert that’s hard to stop at one. They’re rich, creamy, buttery, and endlessly adaptable for different seasons and flavors. Plus, they slice up perfectly for sharing—or stashing away a secret piece just for you. 😉
Tried them? Drop a comment and let me know if you added fruit, chocolate, or kept it classic! 💬🧁✨
Leave a Reply