Whether you’re hosting a family get-together, planning a holiday spread, or just want a snack board that makes you feel a little fancy, a Cheese Tray is always a hit. It’s easy to put together, customizable for kids or adults, and absolutely beautiful when arranged with care (and a few clever tricks!).
This guide will walk you through making a balanced, crowd-pleasing cheese tray that works for everything from wine nights to birthday parties—and yes, even picky eaters will find something to love!
🛒 What You’ll Need
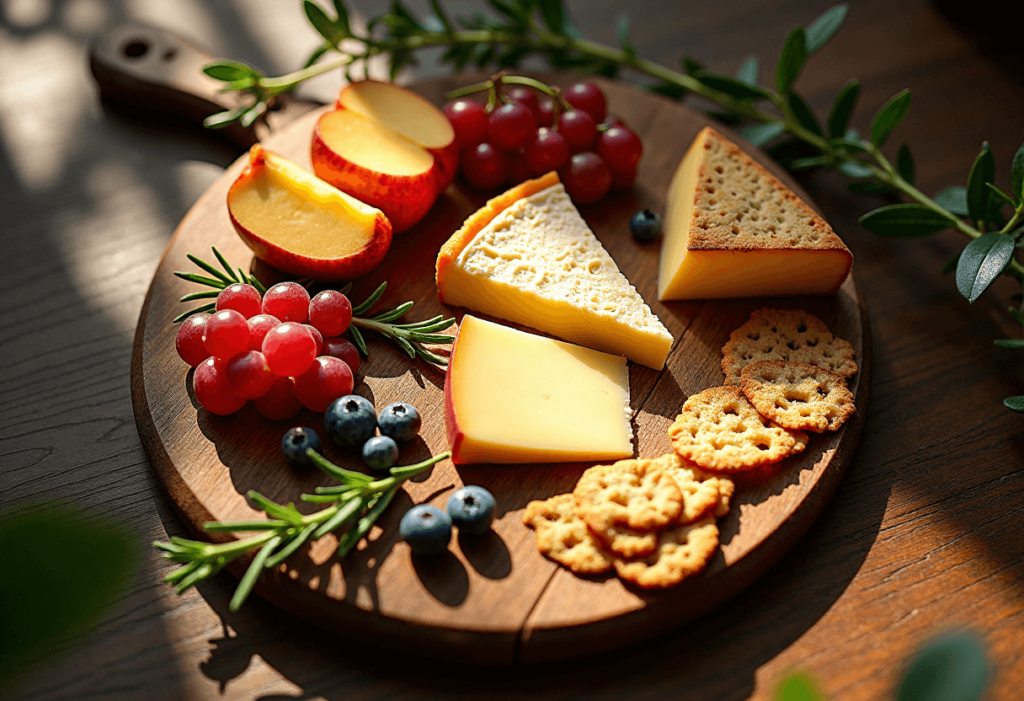
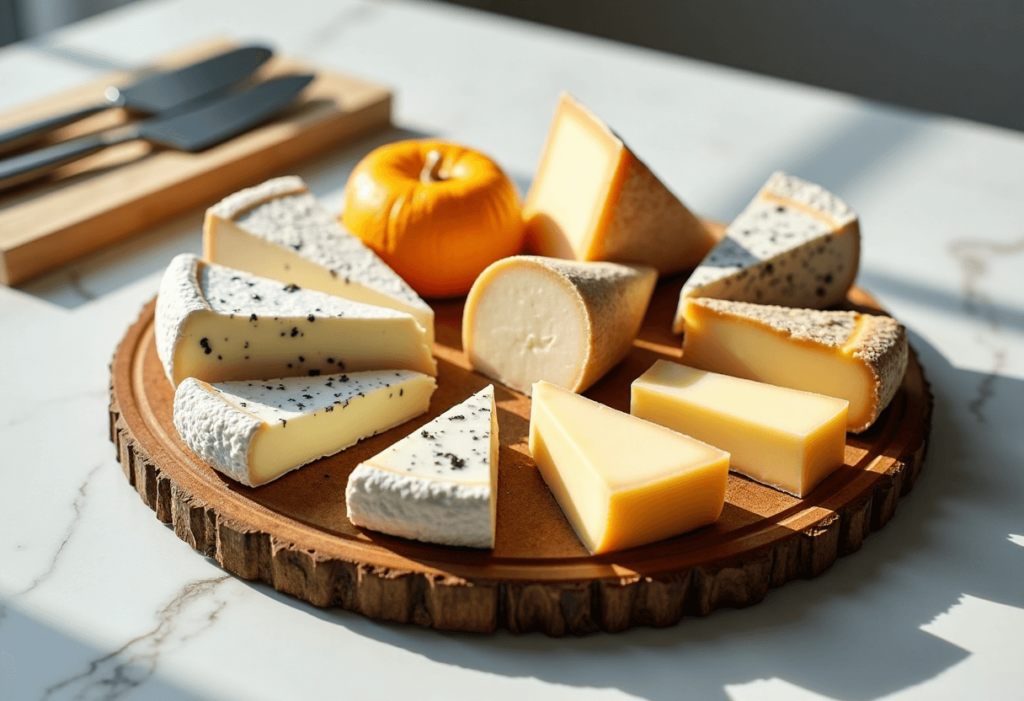
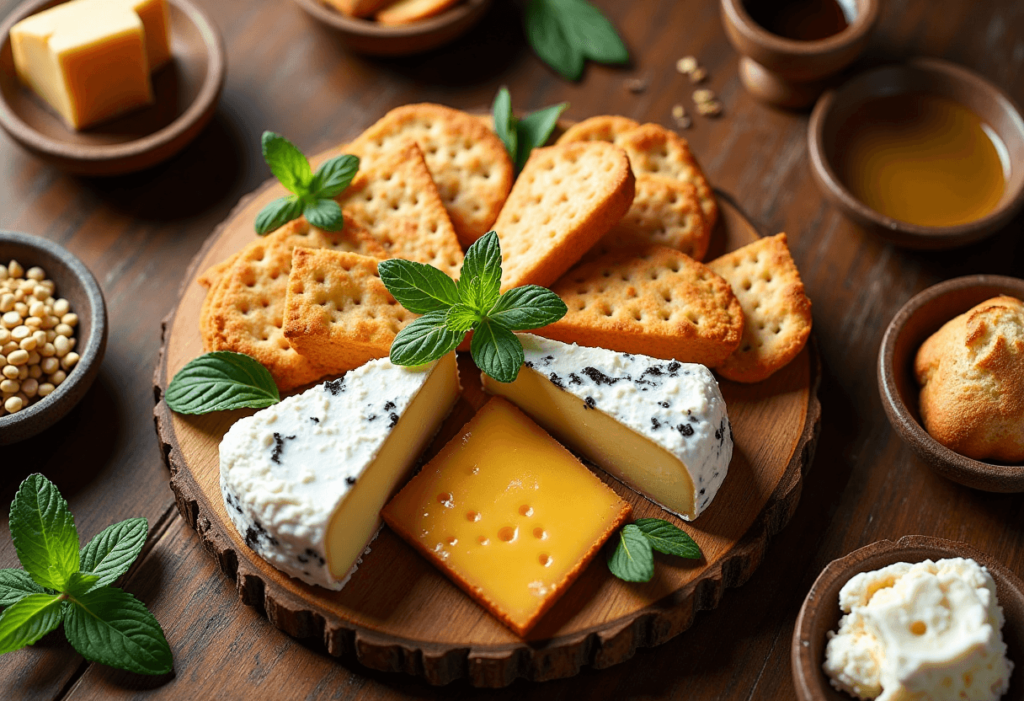
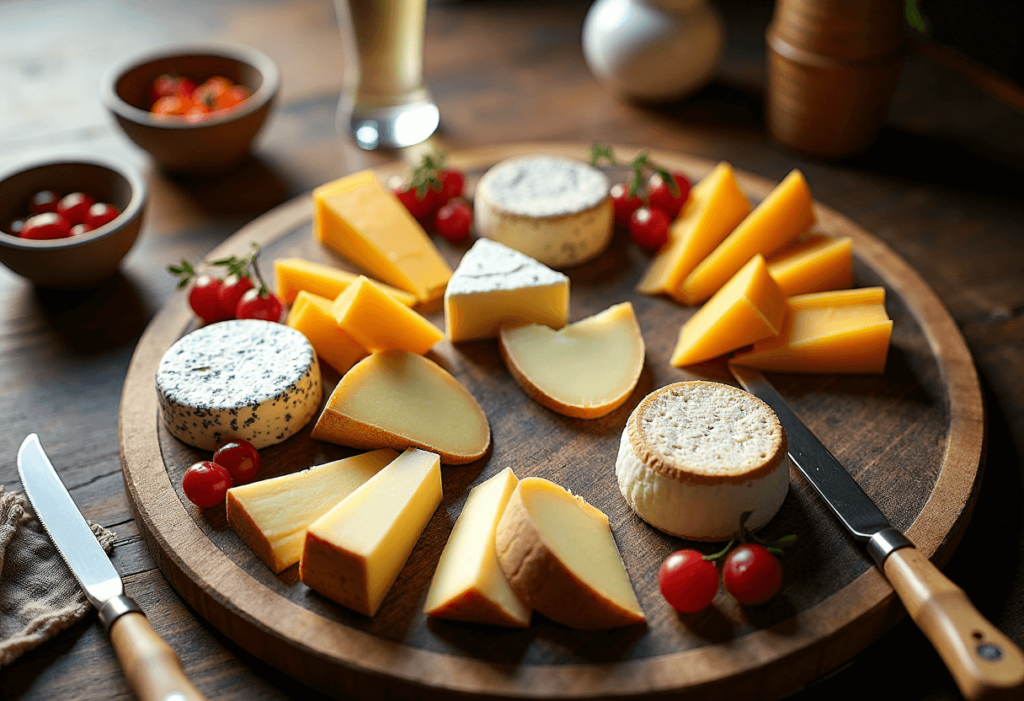
Cheese (Choose 3–5 Varieties):
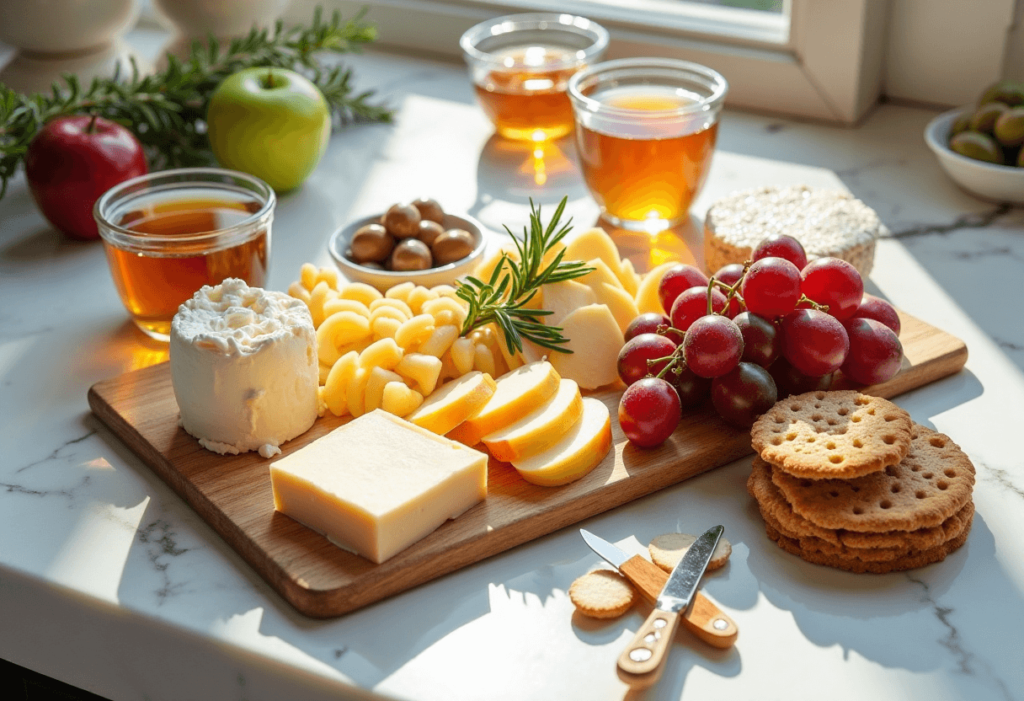
Aim for a mix of textures and flavors:
- Soft: Brie, goat cheese, Boursin
- Semi-soft: Havarti, fontina, gouda
- Firm: Sharp cheddar, Manchego, aged gouda
- Blue: Gorgonzola, Roquefort (optional for adventurous eaters)
Crackers & Bread:
- Artisan crackers
- Sliced baguette or crostini
- Breadsticks or pretzel crisps
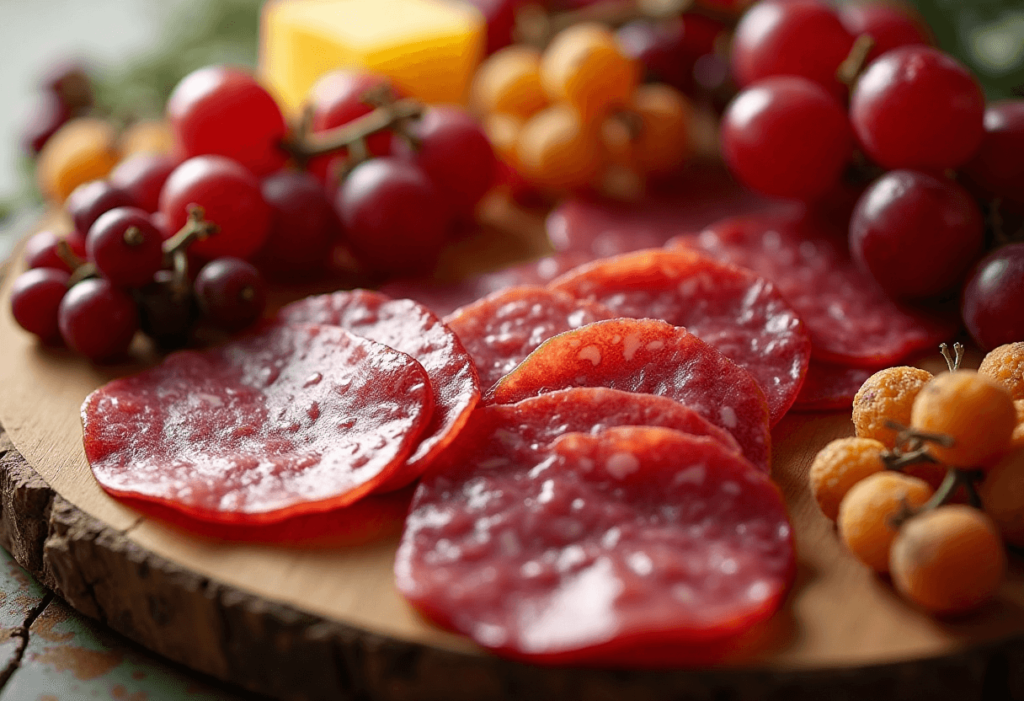
Fruits & Veggies:
- Grapes or sliced apples/pears (toss in lemon juice)
- Dried apricots, figs, or cranberries
- Cherry tomatoes or cucumber rounds (for a fresh, colorful touch)
Meats (Optional):
- Salami
- Prosciutto
- Pepperoni slices
Extras & Garnishes:
- Mixed nuts (almonds, walnuts)
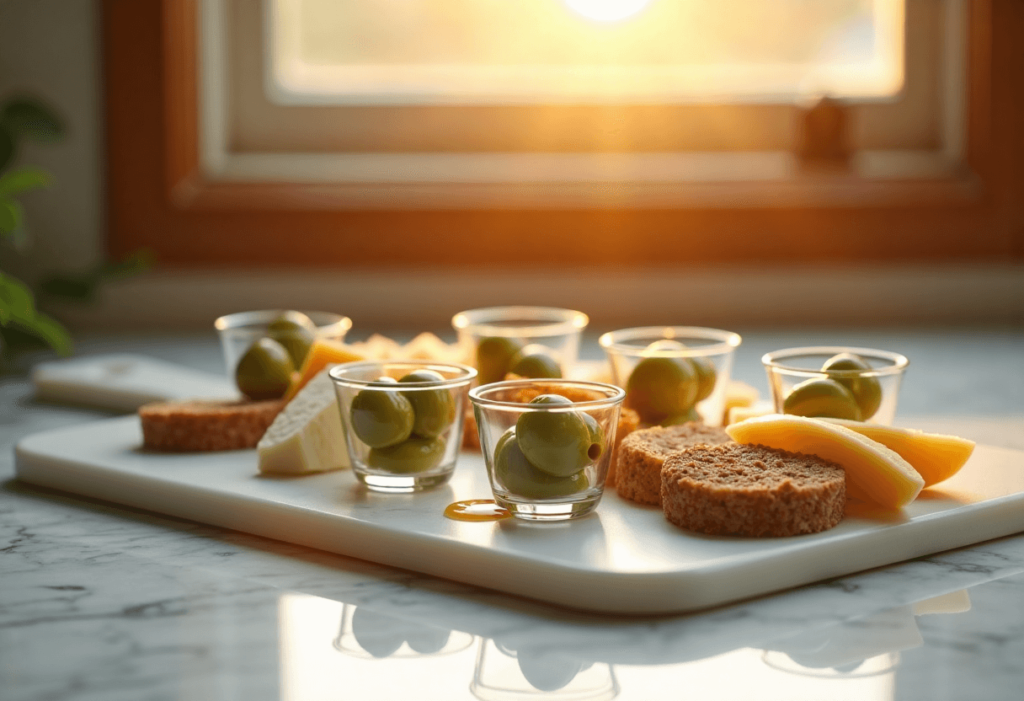
- Olives or pickles
- Honey or fig jam
- Fresh rosemary or thyme sprigs
👩🍳 Pro Tips for a Stunning Cheese Tray
- Let cheese come to room temp – flavors shine best that way.
- Slice some cheese, leave some whole – makes the board more inviting.
- Group in odd numbers – 3 cheeses, 5 fruits, etc. is pleasing to the eye.
- Use small bowls for wet items (like olives or honey).
- Add color – use fruits, herbs, or even edible flowers for pops of visual interest.
🛠 Tools You’ll Need
- Large cheese board, tray, or cutting board
- Small bowls or ramekins
- Cheese knives or spreaders
- Napkins or small plates
- Toothpicks or cocktail forks (optional)
🔄 Substitutions & Variations
- Kid-friendly version: Use string cheese chunks, mild cheddar, and mini crackers
- Brunch version: Add mini muffins, jam, and hard-boiled eggs
- Seasonal twist: Add candy canes for Christmas, fresh berries for summer
- Themed boards: Taco board, s’mores board, dessert cheese board!
⏰ Make Ahead Tips
- Assemble up to 2 hours ahead, wrap loosely with plastic wrap, and refrigerate
- Keep wet items in separate containers until ready to serve
- Add crackers and bread just before serving to keep them crisp
👩🍳 How to Build the Cheese Tray
1. Start with Cheese Placement
Place your cheese selections spaced apart on the board. Slice or cube some pieces to make them easy to grab.
2. Add Bowls & Wet Ingredients
Place small bowls with olives, pickles, or honey on the board. Tuck them between the cheeses.
3. Fill in with Crackers & Bread
Fan out crackers and bread in curves or lines to add texture and flow to the board.
4. Add Fruits, Meats & Nuts
Tuck in grapes, apple slices, meats, and nuts to fill space and add color and flavor contrast.
5. Garnish & Serve
Top with sprigs of rosemary or thyme, and place a few cheese markers if desired. Serve immediately or chill until ready.
🧊 Leftovers & Storage
- Store leftovers in airtight containers in the fridge for up to 3–4 days
- Wrap cheese separately in wax paper or reusable wraps
- Use leftover cheese in grilled cheese, omelets, or quesadillas!
🧀 Let’s Make Your Board the Star of the Party!
A Cheese Tray is such a simple but stunning way to feed a group and make any occasion feel special. It’s endlessly customizable, easy to assemble, and guaranteed to disappear fast. Whether you go rustic, fancy, or kid-friendly, there’s no wrong way to cheese board!
Tried it? Snap a pic and let me know how you styled yours—or what your family’s favorite cheese combos are! 💬🧀🥖🍇
Leave a Reply