There’s something undeniably magical about desserts served in clear cups. The colorful layers. The creamy swirls. The crumbly textures peeking through glass. They look fancy, feel special, and instantly elevate any table — even if they’re secretly super easy to make.
Whether you’re hosting a dinner party, planning a birthday setup, or just craving something pretty and sweet, layered dessert cups are your new go-to.
The best part? You don’t need professional baking skills. Just a little creativity and a few simple ingredients.
Let’s build them step by step.
Choose Your Flavor Theme First
Before you start layering, decide on a flavor direction. Having a theme makes everything look cohesive and intentional.
Here are a few easy ideas:
- Chocolate Dream – chocolate cake crumbs, chocolate mousse, whipped cream, chocolate chips
- Berry Bliss – vanilla sponge, whipped cream, strawberry or raspberry compote
- Cookies & Cream – crushed chocolate cookies, cream filling, vanilla pudding
- Tropical Delight – coconut cream, mango puree, vanilla cake cubes
Pick 2–4 components that contrast in:
- Color
- Texture
- Flavor
This is what makes the layers visually pop.
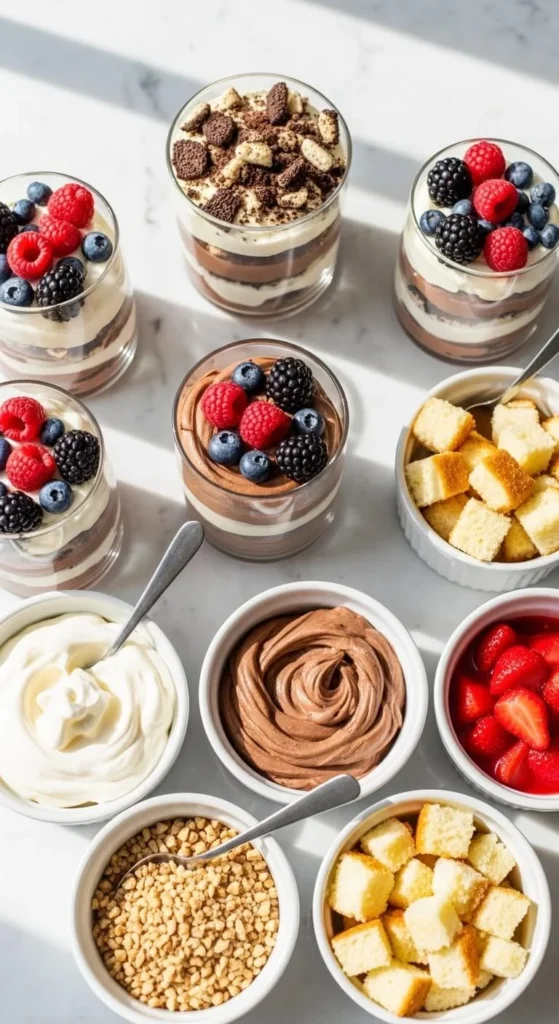
Gather the Perfect Layering Ingredients
A balanced dessert cup usually includes:
- Base layer (cake cubes, brownie chunks, crushed biscuits)
- Creamy layer (whipped cream, mousse, pudding)
- Sauce or fruit layer (fruit compote, chocolate ganache, caramel sauce)
- Topping (fresh fruit, cookie crumbs, nuts, chocolate curls)
Keep everything prepped and ready before assembling. This makes the process smooth and mess-free.
Pro tip: Use a piping bag (or even a zip-top bag with the corner snipped) for clean, defined cream layers.
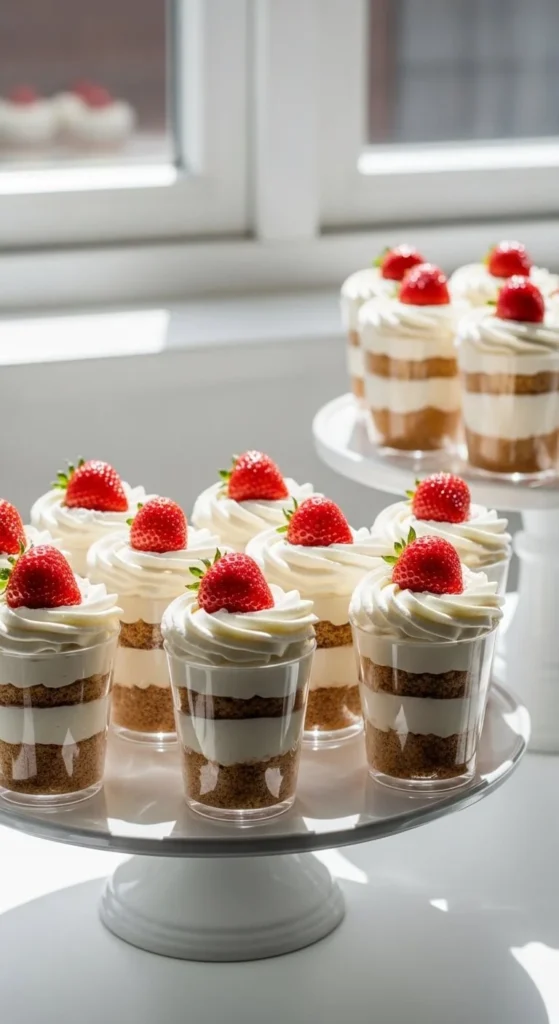
Use Clear Cups for Maximum Visual Impact
The secret to aesthetic dessert cups? Transparency.
Choose:
- Clear glass cups
- Mini mason jars
- Plastic party cups (for larger gatherings)
Straight-sided glasses show layers better than curved ones.
When filling:
- Press crumb layers gently so they look even.
- Pipe cream slowly around the edges first, then fill the center.
- Wipe the inside of the glass if needed for a clean look.
This small detail makes your dessert look professionally styled.
Layer Like a Pro (Step-by-Step)
Here’s a foolproof layering order that works every time:
Step 1: Start with Structure
Add your cake cubes or crushed base first.
Press lightly so it forms a stable foundation.
Step 2: Add Creamy Contrast
Pipe a thick, smooth cream layer.
Make sure it’s even and visible from the outside.
Step 3: Add Color & Flavor
Spoon in fruit compote or chocolate sauce.
Let it slightly touch the glass for that beautiful streaked effect.
Step 4: Repeat
Repeat the layers once or twice depending on cup height.
Step 5: Finish Strong
Top with:
- A swirl of whipped cream
- Fresh berries
- Cookie crumbles
- Chocolate shavings
Keep the top elegant but not overcrowded.
Make Them Extra Aesthetic
Want that Pinterest-worthy finish? Focus on small details.
- Use contrasting colors (dark crumbs + white cream + red berries)
- Add height with a tall cream swirl
- Keep portions uniform if serving multiple cups
- Chill for 30–60 minutes before serving for cleaner layers
You can even coordinate the dessert colors with your party theme — soft pastels for baby showers, bold tones for birthdays, neutrals for dinner parties.
Easy Make-Ahead Tips
Layered dessert cups are perfect for prepping in advance.
- Assemble up to 24 hours ahead.
- Cover tightly with plastic wrap.
- Add crunchy toppings right before serving to keep texture intact.
- Store in the refrigerator until ready.
They’re also portion-controlled, which makes serving effortless and mess-free.
Flavor Combinations That Always Impress
If you’re not sure what to try first, these combinations are guaranteed crowd-pleasers:
- Vanilla cake + strawberry compote + whipped cream
- Chocolate brownie + chocolate mousse + crushed nuts
- Lemon cake + lemon cream + fresh blueberries
- Caramel pudding + biscuit crumbs + whipped cream
You can even create a “dessert cup bar” where guests build their own layers — fun and interactive!
Common Mistakes to Avoid
Even simple desserts have small pitfalls. Watch out for:
- Overfilling cups (leave space at the top)
- Runny cream layers
- Uneven crumb distribution
- Too many flavors competing at once
Keep it simple. Balanced. Beautiful.
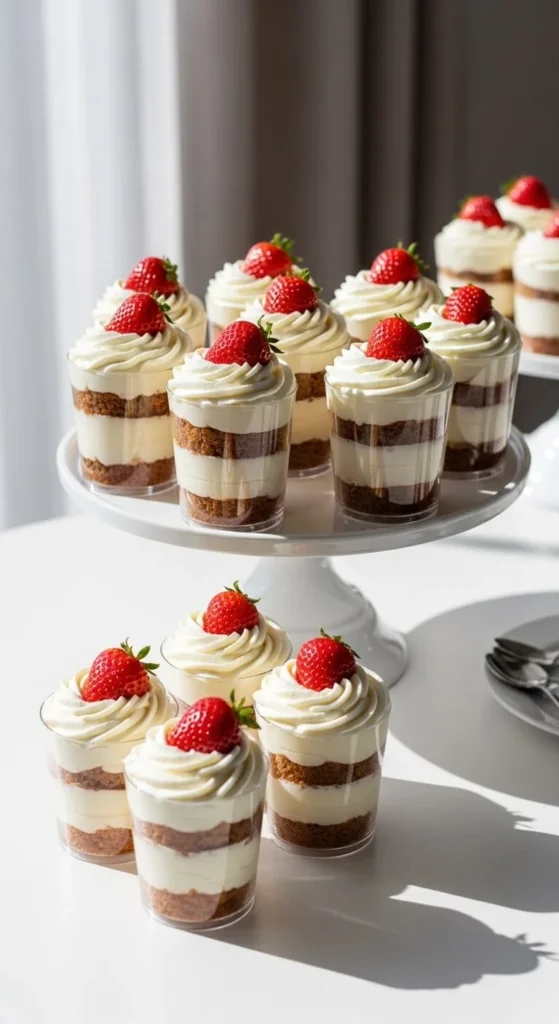
Final Touch: Presentation Matters
Serve your cups chilled with small dessert spoons. Arrange them neatly on a tray or cake stand. Add soft lighting or a simple table runner for extra elegance.
Remember — people eat with their eyes first.
With just a few ingredients and a little layering technique, you can turn everyday components into a stunning, bakery-style treat that looks far more complicated than it actually is.
Now it’s your turn. Pick your flavor theme, grab those clear cups, and start layering.
✨ Save this idea for your next gathering — and get ready for the compliments!
Leave a Reply