Craving something cold, creamy, and comforting—but without dairy or complicated steps? You’re in the right place. This dairy-free ice cream is unbelievably simple, naturally creamy, and made with just three everyday ingredients. No special equipment, no long ingredient list, and no guesswork. It’s the kind of recipe you’ll want to keep on hand all year long.
Whether you’re dairy-free by choice or just love easy homemade treats, this recipe proves that simple really can be delicious.
Why 3-Ingredient Dairy-Free Ice Cream Works So Well
The magic of this recipe is all about natural texture and balance. Each ingredient plays a clear role, which is why you don’t need stabilizers or fancy additions.
Here’s what makes it work:
- Bananas create a naturally creamy, scoopable base
- Coconut milk adds richness and a smooth mouthfeel
- Maple syrup gently sweetens without overpowering
Because there are so few ingredients, quality matters—but the process stays incredibly forgiving.
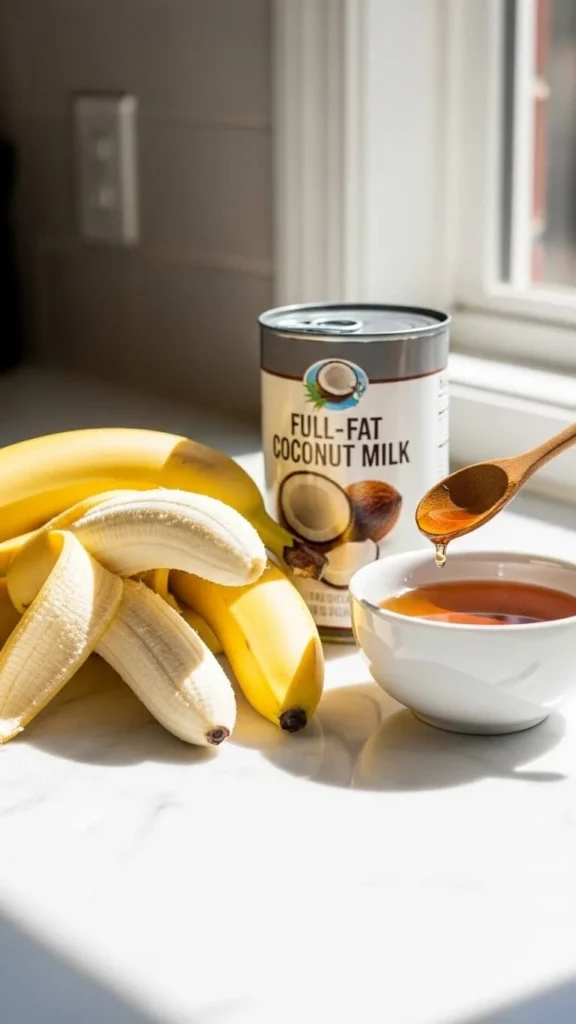
The Only 3 Ingredients You Need
Before you start, make sure your bananas are ripe. Brown spots are your friend here—they mean more sweetness and better flavor.
Ingredients:
- 3 ripe bananas
- 1 cup full-fat coconut milk (chilled for best results)
- 2–3 tablespoons maple syrup (adjust to taste)
That’s it. No powders, no additives, no complicated substitutions.
Step-by-Step: How to Make It Creamy and Smooth
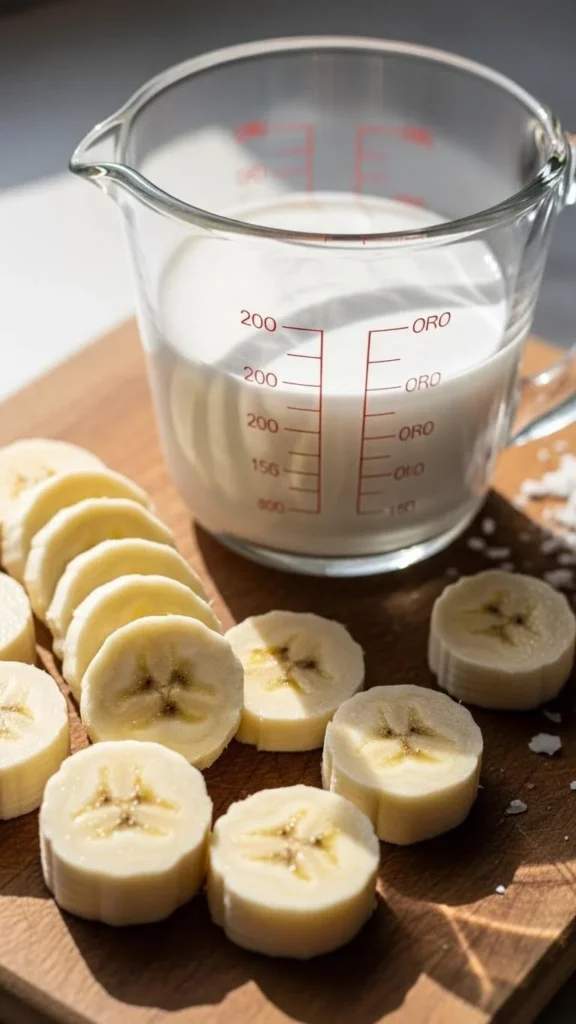
Step 1: Freeze the Bananas
Peel the bananas, slice them into coins, and spread them on a parchment-lined tray. Freeze for at least 2–3 hours, or until solid.
This step is key—the frozen bananas are what give the ice cream its thick, scoopable texture.
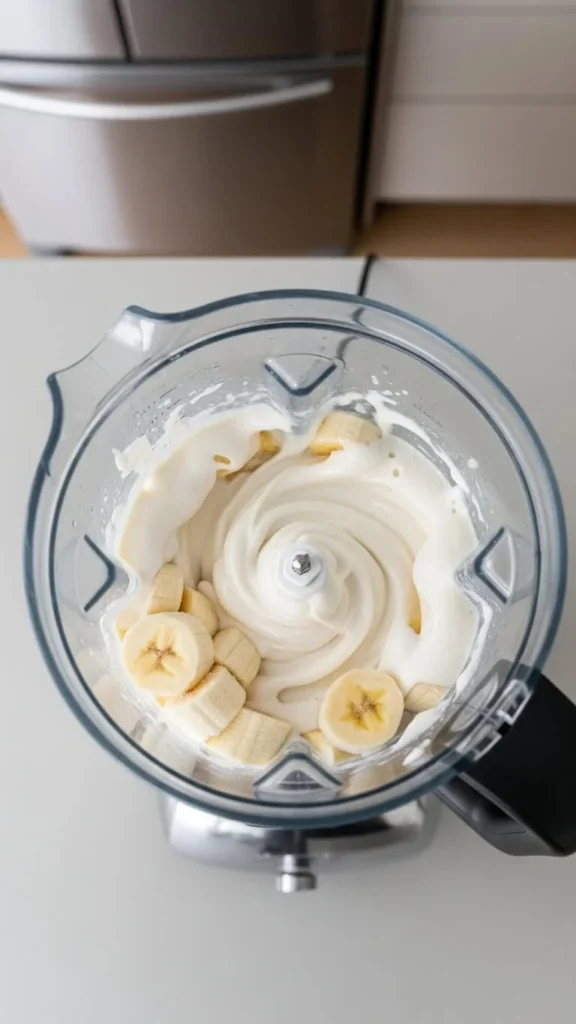
Step 2: Blend Everything Together
Add the frozen banana slices to a high-speed blender or food processor. Pour in the coconut milk and maple syrup.
Blend until smooth, stopping occasionally to scrape down the sides. At first, it may look crumbly—keep blending. It will turn creamy.
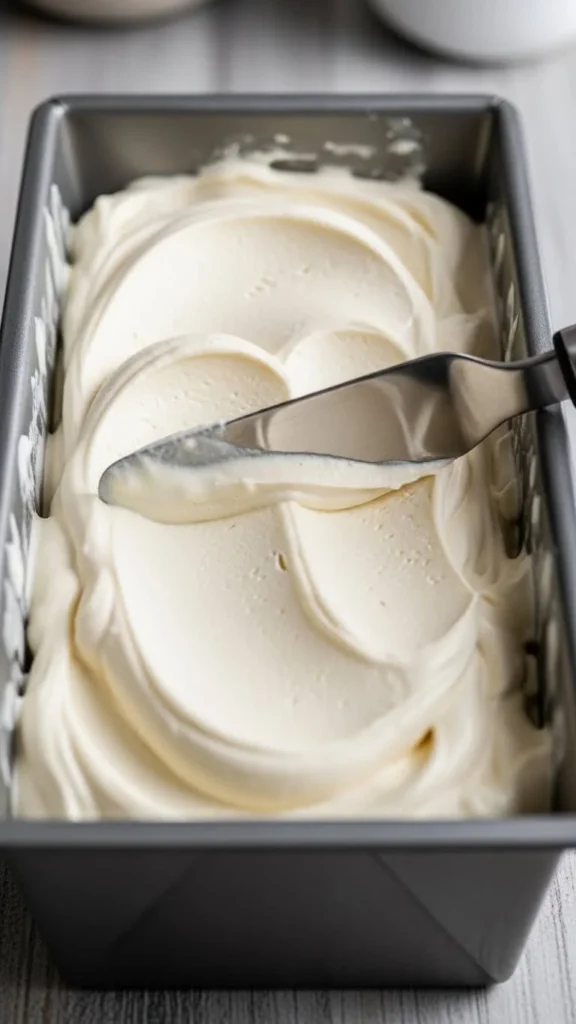
Step 3: Serve Soft or Freeze to Firm
At this point, you have a soft-serve style ice cream. You can enjoy it right away or transfer it to a freezer-safe container and freeze for 1–2 hours for a firmer, scoopable texture.
Tips for the Best Dairy-Free Ice Cream Texture
Because this recipe is so simple, small tweaks can make a big difference.
- Use full-fat coconut milk for the creamiest result
- Blend patiently—rushing leads to uneven texture
- If the mixture feels too thick, add coconut milk 1 tablespoon at a time
- Let frozen ice cream sit at room temperature for 5 minutes before scooping
These little steps help you get that smooth, indulgent feel every time.
Easy Flavor Variations (Still Dairy-Free)
Once you master the base recipe, it’s easy to customize—without complicating things.
Try adding:
- A spoon of nut butter for richness
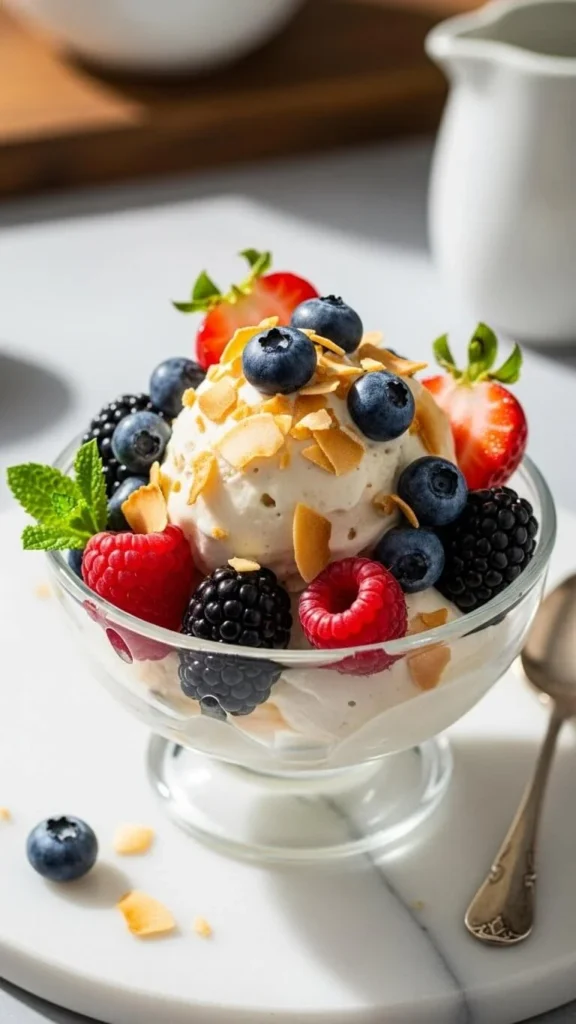
- Fresh berries for fruity swirls
- Unsweetened cocoa powder for a chocolate-style treat
- Toasted coconut flakes sprinkled on top before serving
Keep additions simple so the ice cream stays smooth and balanced.
How to Store and Serve
- Store in an airtight container in the freezer for up to 2 weeks
- For best texture, cover the surface with parchment before sealing
- Scoop with a warm spoon for clean, smooth servings
This ice cream is perfect on its own or paired with fruit, dairy-free brownies, or crisp cookies.
Final Takeaway
Making dairy-free ice cream doesn’t need to be complicated. With just three simple ingredients, you can create a creamy, satisfying dessert that feels indulgent but stays refreshingly simple.
Once you try it, you’ll never look at store-bought options the same way again.
Save this recipe for later, and don’t forget to pin it for your next easy dessert craving! 🍨
Leave a Reply