Making sushi at home sounds intimidating, right? 🍣 But here’s the secret: you don’t need a fancy sushi bar, years of training, or rare ingredients to create beautiful, delicious sushi rolls in your own kitchen. With a little patience and the right steps, homemade sushi can be fun, customizable, and surprisingly easy.
Whether you’re planning a cozy dinner, a weekend cooking project, or Pinterest-worthy food content, this step-by-step guide will walk you through everything you need to know.
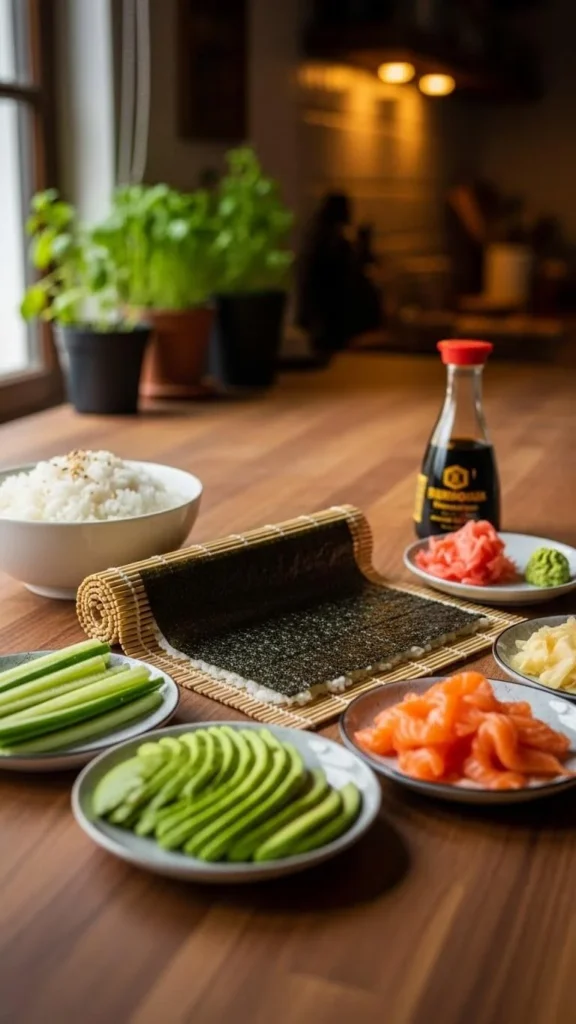
What You’ll Need to Make Sushi at Home
Before you start rolling, it’s important to gather all your ingredients and tools. This makes the process smoother and way less stressful.
Basic Ingredients
- Sushi rice (short-grain Japanese rice)
- Rice vinegar
- Sugar and salt
- Nori sheets (seaweed)
- Fresh fillings (choose what you love):
- Avocado
- Cucumber
- Carrots
- Cooked shrimp
- Smoked salmon
- Crab sticks
- Soy sauce, wasabi, and pickled ginger (for serving)
Helpful Tools
- Bamboo sushi rolling mat
- Sharp knife
- Small bowl of water (to prevent sticking)
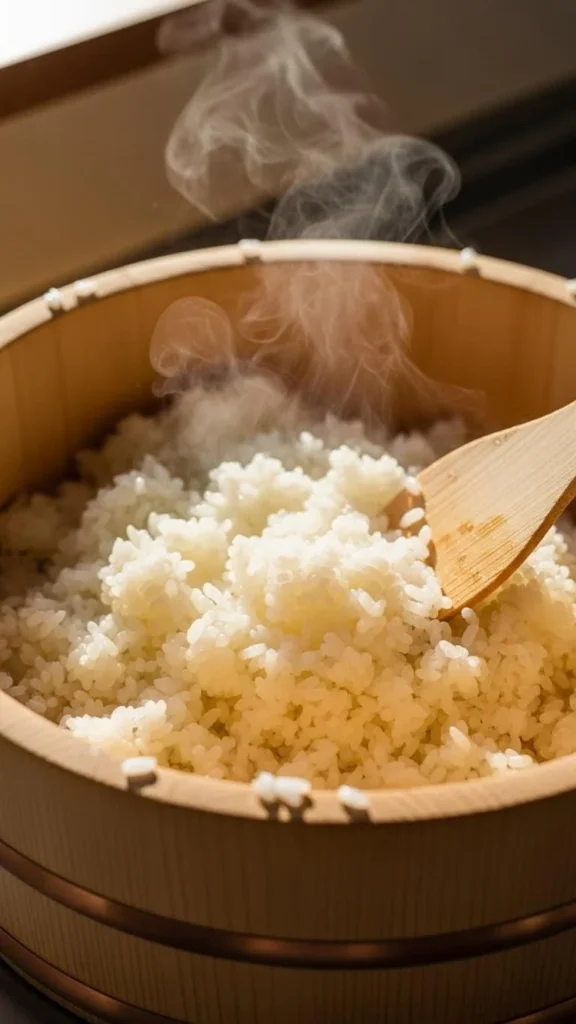
Step 1: Cook and Season the Sushi Rice
Perfect sushi starts with perfect rice. Don’t rush this step—it’s the foundation of your rolls.
How to Make Sushi Rice
- Rinse the rice under cold water until the water runs mostly clear.
- Cook according to package instructions (usually a 1:1 ratio of rice to water).
- While the rice is still warm, gently fold in:
- Rice vinegar
- A pinch of sugar
- A pinch of salt
Mix carefully using a folding motion to avoid smashing the grains. Let the rice cool to room temperature before rolling.
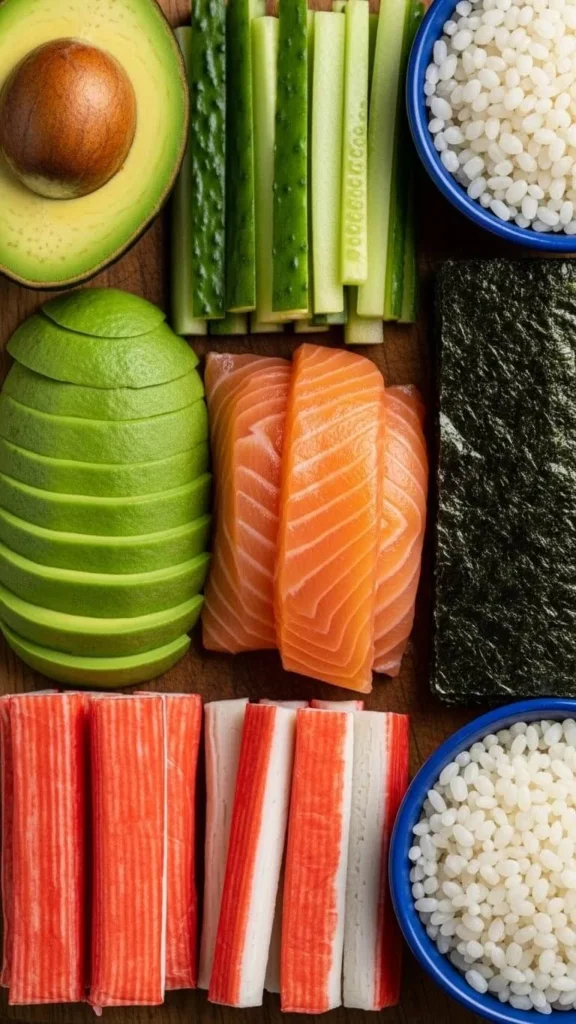
Step 2: Prepare Your Fillings
While the rice cools, prep your fillings. This step is all about balance—color, texture, and flavor.
Pro Tips for Fillings
- Cut ingredients into thin, even strips.
- Avoid overfilling; less is more with sushi.
- Mix textures: creamy (avocado), crunchy (cucumber), and savory (fish or shrimp).
Lay everything out within arm’s reach so you can roll smoothly without stopping.
Step 3: Set Up Your Rolling Station
Now comes the fun part—rolling! A clean, organized setup makes a huge difference.
- Place the bamboo mat on a flat surface.
- Lay one sheet of nori shiny side down.
- Keep your bowl of water nearby to wet your fingers.

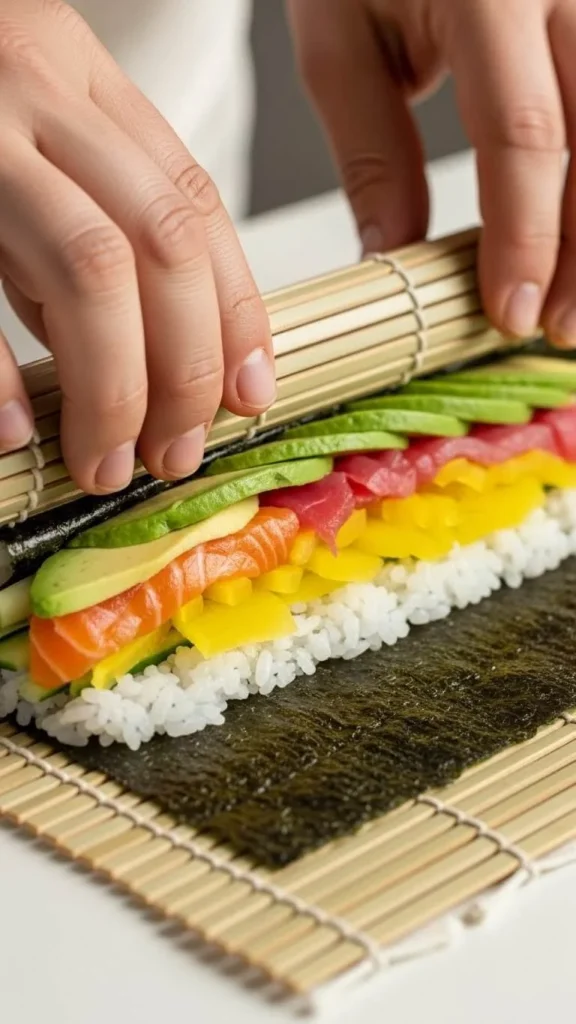
Step 4: Assemble and Roll the Sushi
This step might feel tricky at first, but don’t worry—your rolls don’t need to be perfect to taste amazing.
How to Roll Sushi
- With wet fingers, spread a thin layer of rice over the nori, leaving about 1 inch uncovered at the top.
- Arrange your fillings in a horizontal line near the bottom edge.
- Lift the mat and gently roll forward, tucking the fillings in tightly.
- Continue rolling until sealed.
- Dab a little water on the exposed edge to help it stick.
Take your time and apply gentle pressure for a tight roll.
Step 5: Slice and Serve Like a Pro
Once rolled, it’s time to slice your sushi into beautiful pieces.
Slicing Tips
- Use a very sharp knife.
- Wipe the blade with a damp cloth between cuts.
- Cut the roll in half, then slice each half into 3–4 pieces.
Arrange your sushi on a plate and serve with soy sauce, wasabi, and pickled ginger.

Easy Sushi Variations to Try
Once you’ve mastered the basics, experiment with different styles:
- California Roll: Crab sticks, avocado, cucumber
- Vegetarian Roll: Avocado, cucumber, carrot
- Spicy Roll: Add spicy mayo to shrimp or salmon
- Inside-Out Roll: Rice on the outside, nori inside
Homemade sushi is all about creativity—use what you enjoy.
Final Thoughts: You’ve Got This!
Making sushi at home is a skill you can build with practice, and every roll gets better than the last. Don’t stress about perfection—focus on flavor, fun, and the experience. Once you try it, you’ll be amazed at how satisfying homemade sushi can be.
✨ Save this recipe for later, and don’t forget to pin it for your next homemade sushi night! 🍣
Leave a Reply