There’s something magical about a homemade chocolate cake—the rich aroma, the smooth batter, the first warm slice that melts in your mouth. If you’ve ever wanted to bake a cake that tastes bakery-quality but feels cozy and homemade, this guide walks you through every step in a simple, friendly way.

This isn’t one of those complicated pastry-chef projects. You’re about to make a tender, moist, deeply chocolatey cake that works for birthdays, celebrations, or “just because.”
Gather Your Ingredients
Every great cake starts with a few basics. You likely have most of these already!
- All-purpose flour
- Granulated sugar
- Unsweetened cocoa powder
- Baking powder + baking soda
- Eggs
- Milk
- Oil
- Vanilla
- Hot water or hot coffee (this makes the chocolate flavor richer)
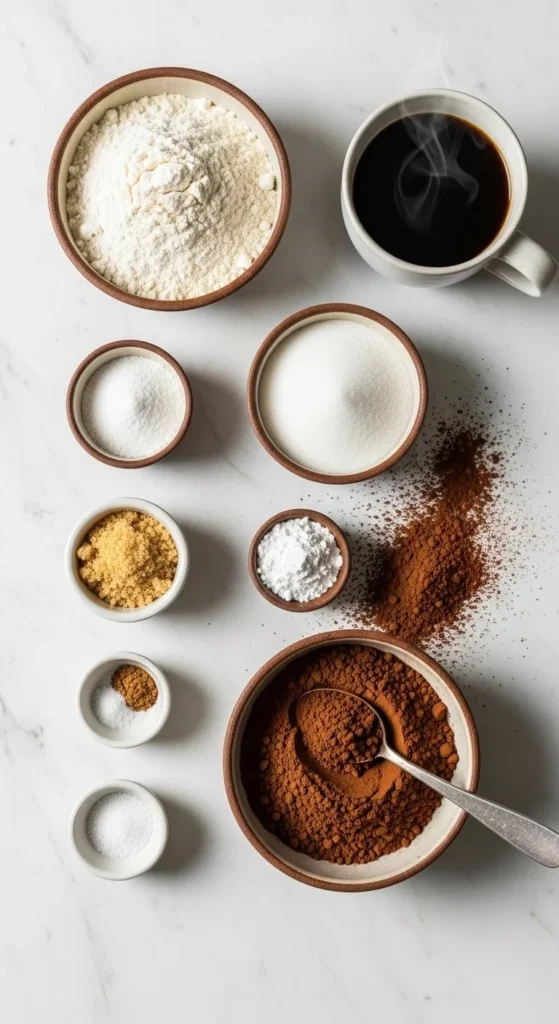
Tip: Coffee intensifies the chocolate flavor, but the cake won’t taste like coffee. If you prefer, use hot water instead.
Mix the Dry Ingredients
Start by combining the flour, cocoa, sugar, baking powder, and baking soda in a large bowl. Stir gently until the mixture looks uniform and smooth.
Short, simple steps make the batter come together quickly, and mixing dry ingredients first helps avoid lumps later.
Why this step matters:
- Even mixing = even rise
- Less chance of dry pockets of ingredients
- Makes the rest of the recipe smoother
Add the Wet Ingredients
Crack in the eggs, pour in the milk, add the oil, and finish with a splash of vanilla. Mix on medium speed (or whisk by hand) until the batter looks thick and glossy.
Helpful tips:
- Don’t overmix—stop once it’s combined.
- Oil keeps the cake soft and moist.
- Vanilla adds warmth that balances the cocoa.
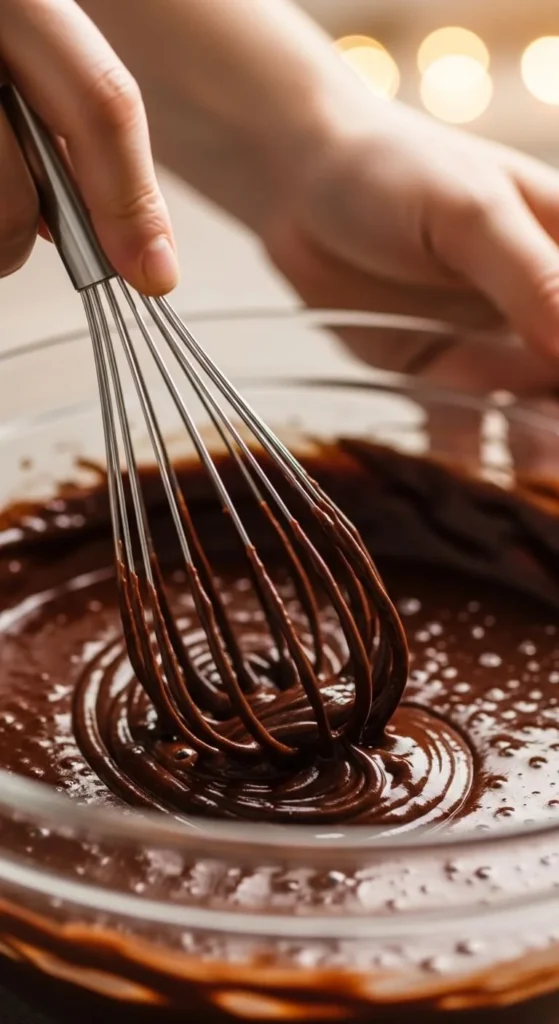
Finish with Hot Water (or Coffee)
This is the moment the batter transforms. Slowly pour in the hot water or hot coffee. The batter will become thin—totally normal!
This step creates a moist, rich crumb that’s hard to achieve otherwise.
It should look:
- Smooth
- Shiny
- Slightly runny
This helps the cake bake evenly and stay soft for days.
Prepare the Pans
Grease your pans with butter or spray and line the bottom with parchment. This prevents sticking and makes the layers come out clean.
Great pan options:
- Two 8-inch rounds
- One 9×13 sheet
- Three thinner 6-inch layers
Tip: If you want flat tops for stacking, use baking strips or lower the oven temp slightly.
Bake to Perfection
Pour the batter into your prepared pans and gently tap them on the counter to release air bubbles.
Bake at 350°F (175°C) until a toothpick comes out with a few moist crumbs.
Signs the cake is ready:
- The center springs back
- The edges pull away slightly
- The top looks set and glossy
Make a Simple Chocolate Frosting
No great chocolate cake is complete without a creamy, smooth frosting. Here’s an easy one:
- Butter
- Powdered sugar
- Cocoa powder
- A splash of milk or cream
- Vanilla
Beat everything together until fluffy and smooth.
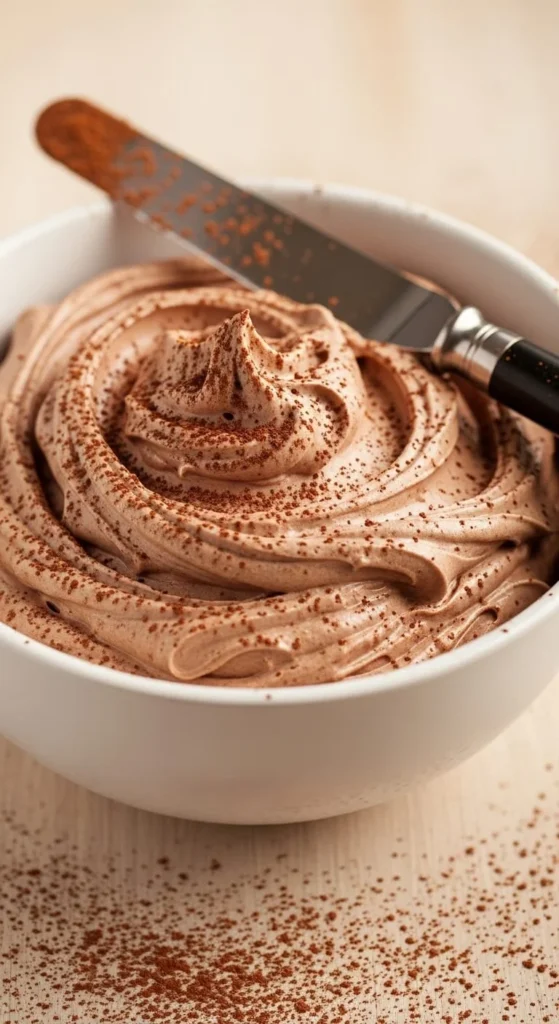
To make it extra smooth, whip it for a full 3–4 minutes.
Frost and Decorate
Let the cake cool completely (this is key!). Spread a layer of frosting between each tier, then coat the top and sides.
You can keep it simple or decorate however you like:
- Chocolate shavings
- Fresh berries
- A dusting of cocoa
- A drizzle of ganache
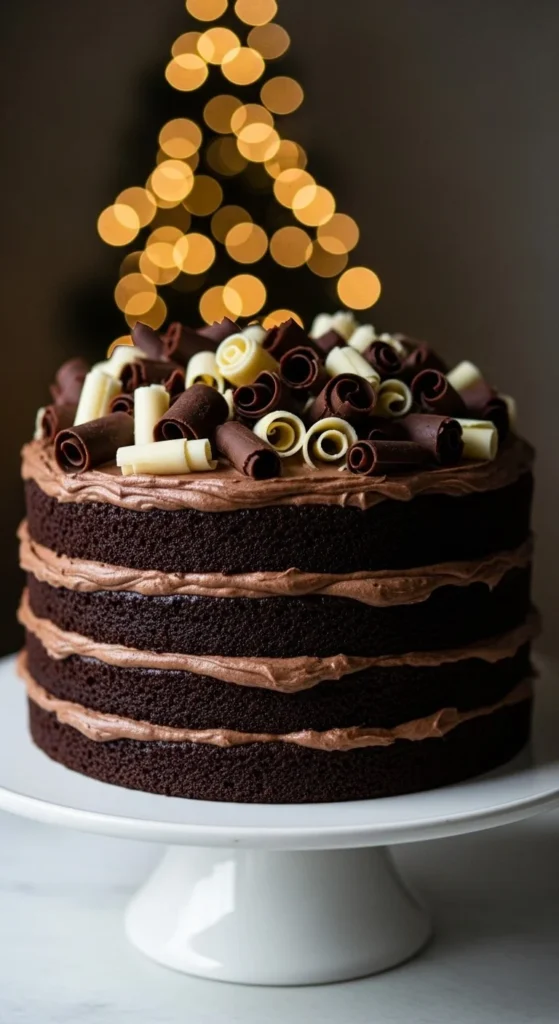
Style it casually or give it a polished look—the taste is what truly shines.
Slice and Serve
Use a warm knife for cleaner slices.
Pair with:
- A scoop of vanilla or coffee ice cream
- A glass of cold milk
- Fresh strawberries
- A warm cup of tea
Every slice should feel indulgent, soft, and deeply chocolatey.
Final Tips for Success
Here are a few simple things that make a big difference:
- Use room-temperature ingredients for smoother mixing
- Weigh your flour if possible
- Let the cake cool fully before frosting
- Store leftovers covered—it stays moist for days
- Freeze slices for quick treats anytime
This cake is beginner-friendly but still special enough for celebrations.
Save This Chocolate Cake for Later!
Homemade chocolate cake is always a good idea, and this recipe proves you don’t need advanced baking skills to make something that tastes incredible. Pin it, bookmark it, or save it so you always have a go-to cake that impresses every time. Happy baking! 🍰
Leave a Reply