There’s nothing quite like the smell of warm, homemade bread drifting through your kitchen. It’s cozy, nostalgic, and downright irresistible. Baking bread might sound intimidating, but it’s actually simple once you get the hang of it. With a few basic ingredients and a little patience, you can create soft, fluffy bread that rivals your favorite bakery loaf.

Gather Your Simple Ingredients
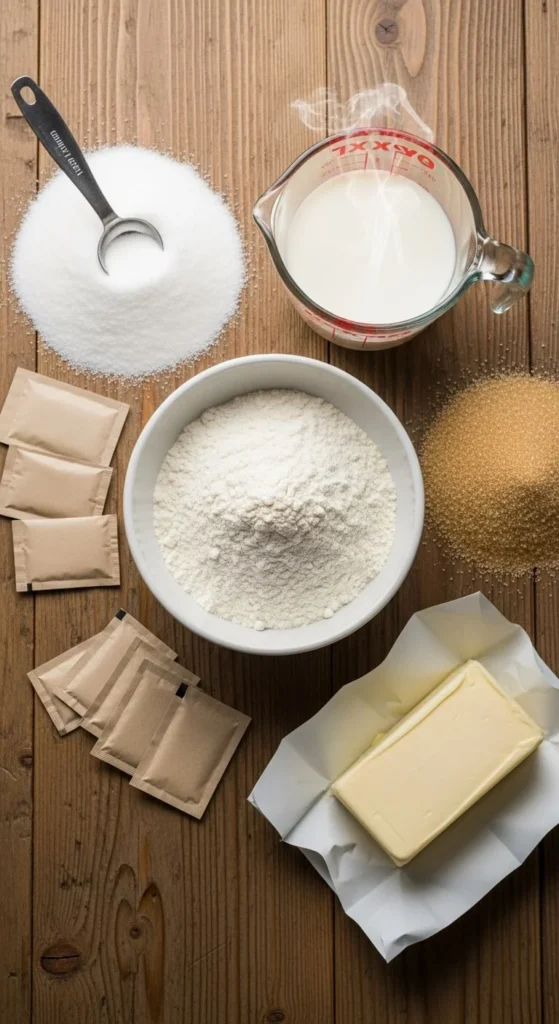
You don’t need anything fancy — just pantry staples that come together beautifully. Here’s what you’ll need:
- 3 ½ cups all-purpose flour (plus extra for kneading)
- 2 teaspoons instant yeast
- 1 teaspoon salt
- 2 tablespoons sugar
- 1 cup warm milk
- 2 tablespoons butter (softened)
- ½ cup warm water
These ingredients make a classic soft loaf with a tender crumb. You can swap milk for water if you want a slightly chewier texture, or add a spoonful of honey for a hint of sweetness.
Step 1: Activate the Yeast
If you’re using active dry yeast (not instant), this step is key. Combine the warm water, sugar, and yeast in a small bowl. Let it sit for about 5–10 minutes, until it becomes bubbly and foamy. That’s how you know your yeast is alive and ready to go!
If it doesn’t foam, your water might have been too hot (or too cold). Try again with lukewarm water — about the temperature of a warm bath.

Step 2: Mix the Dough
In a large bowl, mix the flour and salt together. Add in your activated yeast mixture, warm milk, and butter. Stir with a wooden spoon until it starts coming together.
Once the dough feels soft but slightly sticky, transfer it to a floured surface. Begin kneading with your hands for 8–10 minutes. You’ll know it’s ready when it’s smooth and stretchy — not wet or stiff.
💡 Tip: If your dough sticks too much, sprinkle a little more flour, but don’t overdo it. Too much flour makes bread dense.
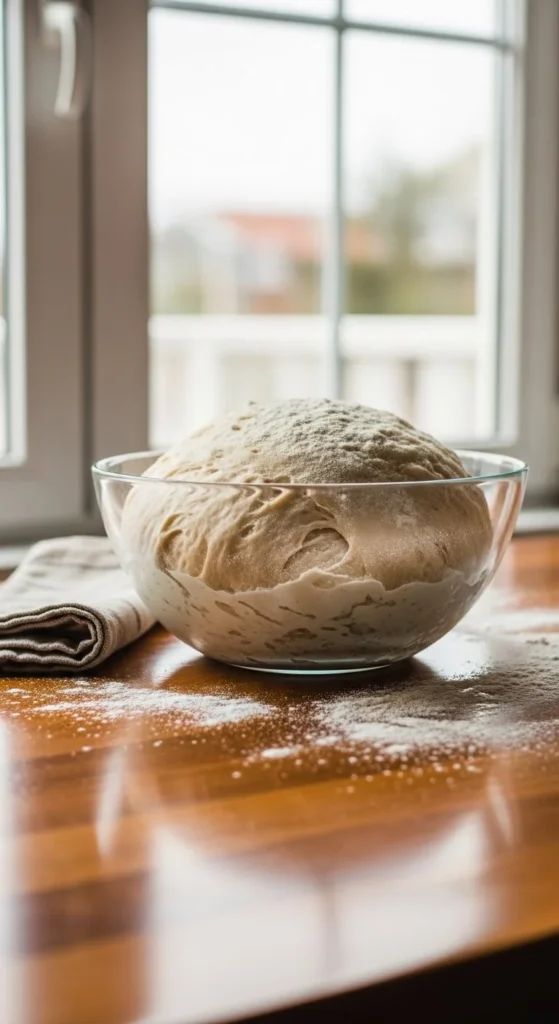
Step 3: Let It Rise
Place your dough in a greased bowl and cover it with a clean kitchen towel. Let it rest in a warm spot for 1 to 1.5 hours, or until it doubles in size.
This is the magic moment where yeast does its work, creating tiny air pockets that make your bread soft and fluffy.
If your kitchen is cool, place the bowl inside your oven (turned off) with just the oven light on — it creates a cozy environment for rising.
Step 4: Shape and Second Rise
Once your dough has doubled, punch it down gently to release air. Roll it out into a rectangle and then roll it up tightly like a jelly roll. Place it seam-side down into a greased loaf pan.
Cover it again and let it rise for another 30–40 minutes until it’s puffy and just above the rim of the pan.
This second rise gives your bread that bakery-style softness. Don’t rush it — the texture depends on this step!
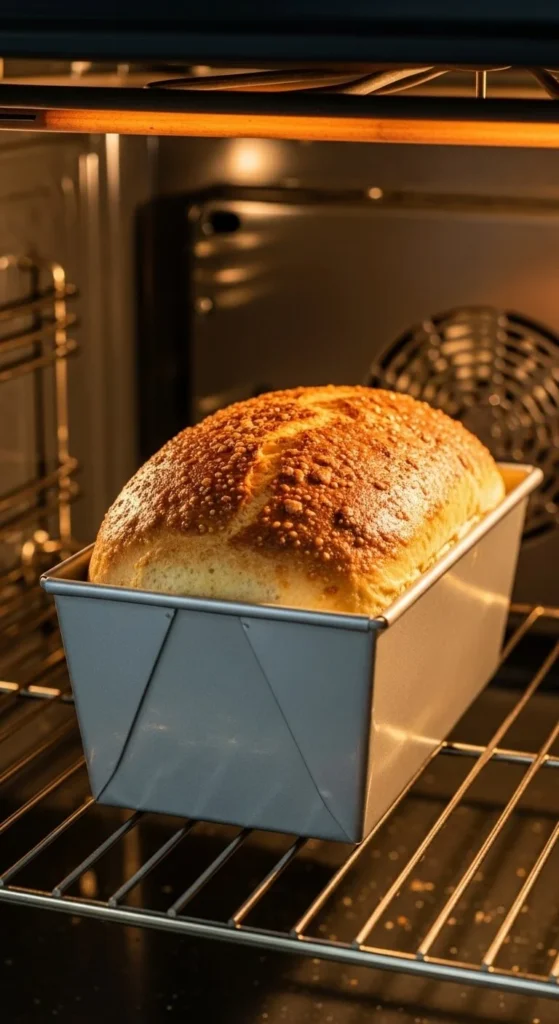
Step 5: Bake to Golden Perfection
Preheat your oven to 375°F (190°C). Bake your loaf for 25–30 minutes, or until the top turns golden brown. Tap the top — if it sounds hollow, it’s done!
Once out of the oven, brush the top with a little melted butter for that soft, shiny finish. Let it cool for at least 15 minutes before slicing (yes, it’s hard to wait, but it’s worth it).
Step 6: Enjoy and Store
Slice your bread while it’s still slightly warm and spread on butter or jam. It’s perfect for breakfast, sandwiches, or just a cozy snack with tea.
To keep it soft for days, store it in an airtight container or wrap it in a clean cloth. You can also freeze slices for later — just toast them straight from the freezer!

Final Thoughts
Baking bread at home isn’t just about the result — it’s about the process. Watching your dough rise, smelling that warm scent in the oven, and slicing into a loaf you made yourself feels deeply satisfying.
Once you’ve mastered this simple recipe, you can experiment with add-ins like herbs, cheese, or seeds to make it your own.
Save this recipe for later, and the next time you crave soft, fresh bread, you’ll know exactly how to make it — right in your own kitchen! 🥖✨
Leave a Reply