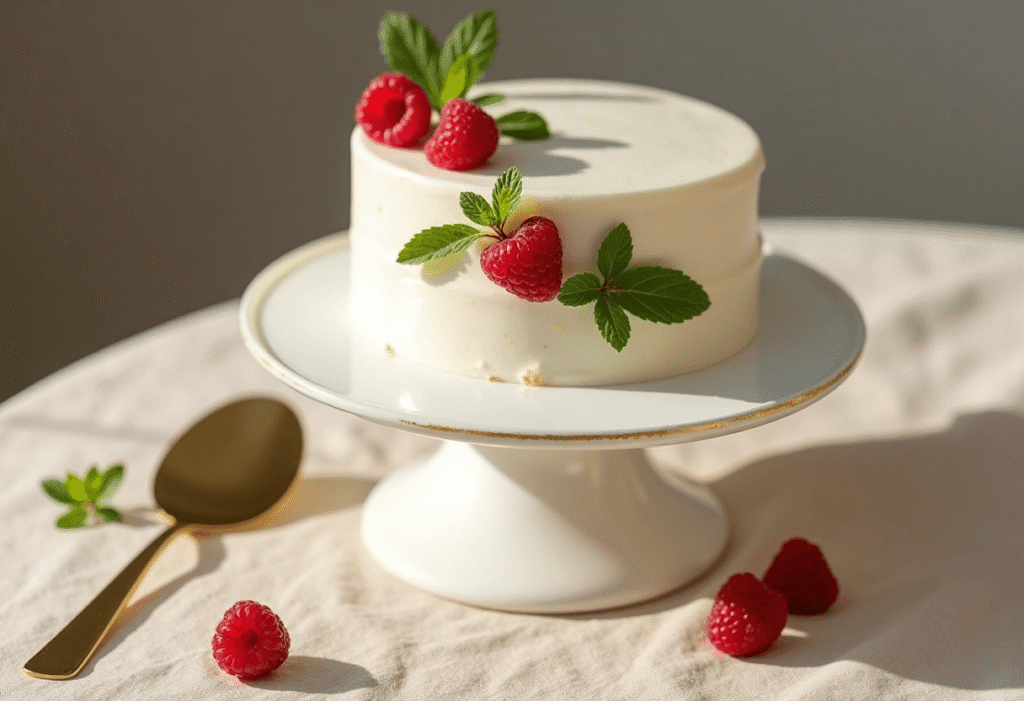
This is my go-to cake when I want something that feels special but doesn’t take hours to decorate. The base is a moist vanilla sponge made in one bowl, and it’s topped with a smooth, barely-sweet buttercream or whipped cream frosting. Think simple lines, natural textures, and a rustic-chic vibe that even the kids will love helping decorate with berries or sprinkels.
🛒 What You’ll Need
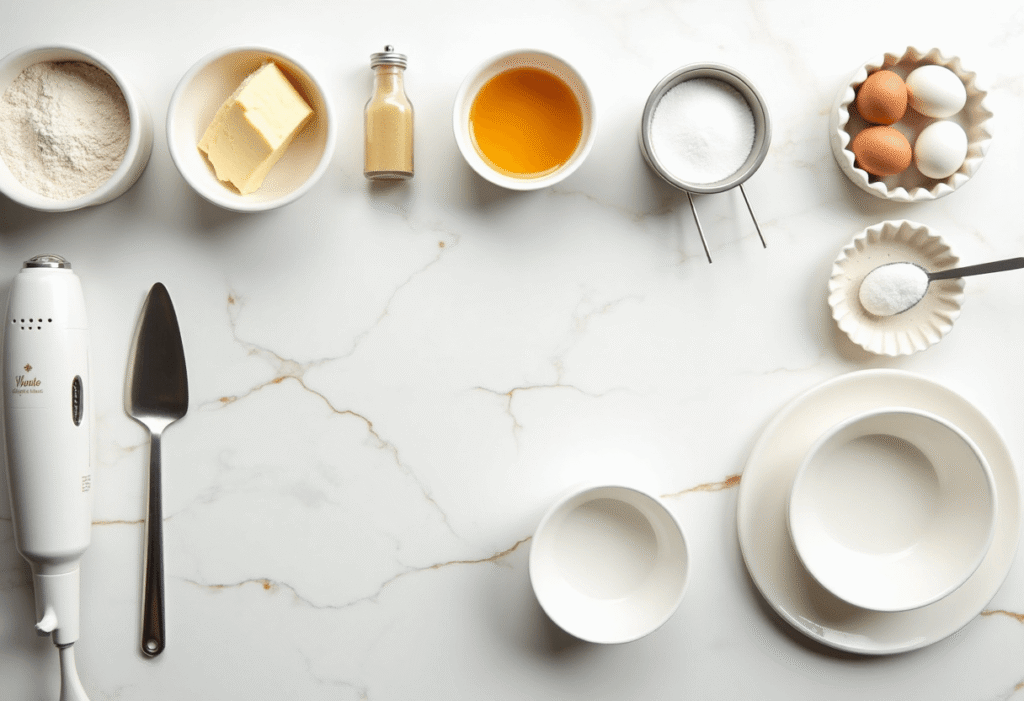
For the Cake:
- 1 ½ cups all-purpose flour
- 1 ½ teaspoons baking powder
- ¼ teaspoon salt
- ½ cup unsalted butter, softened
- ¾ cup granulated sugar
- 2 large eggs
- 1 teaspoon vanilla extract
- ½ cup milk (whole or 2%)
👩🍳 Pro Tips
- Use room temperature ingredients—it helps the batter mix more evenly and gives a better rise.
- Don’t overmix—once the flour is added, mix just until combined for a tender crumb.
- Chill the cake before frosting for a smoother finish.
- For ultra-clean lines, use an offset spatula dipped in warm water to smooth the frosting.
- Let the kids help decorate—even one berry or a sprinkle of powdered sugar adds charm.
🧰 Tools You’ll Need
- Mixing bowls
- Hand or stand mixer
- Measuring cups & spoons
- 8-inch round cake pans (or one 9-inch)
- Cooling rack
- Offset spatula or butter knife
- Cake stand or serving plate
🔄 Substitutions & Variations
- Dairy-free? Use plant-based butter and oat milk.
- Gluten-free? Swap for a 1:1 gluten-free flour blend.
- Chocolate version: Add 1/4 cup cocoa powder and reduce flour by the same amount.
- Lemon twist: Add lemon zest to the batter and frosting for a bright finish.
- Frosting swap: Try whipped cream for an even lighter topping.
⏱️ Make Ahead Tips
- Bake the cake a day ahead and wrap tightly in plastic wrap.
- Frosting can be made 2–3 days in advance and stored in the fridge—bring to room temp and re-whip before using.
👩🍳 Instructions
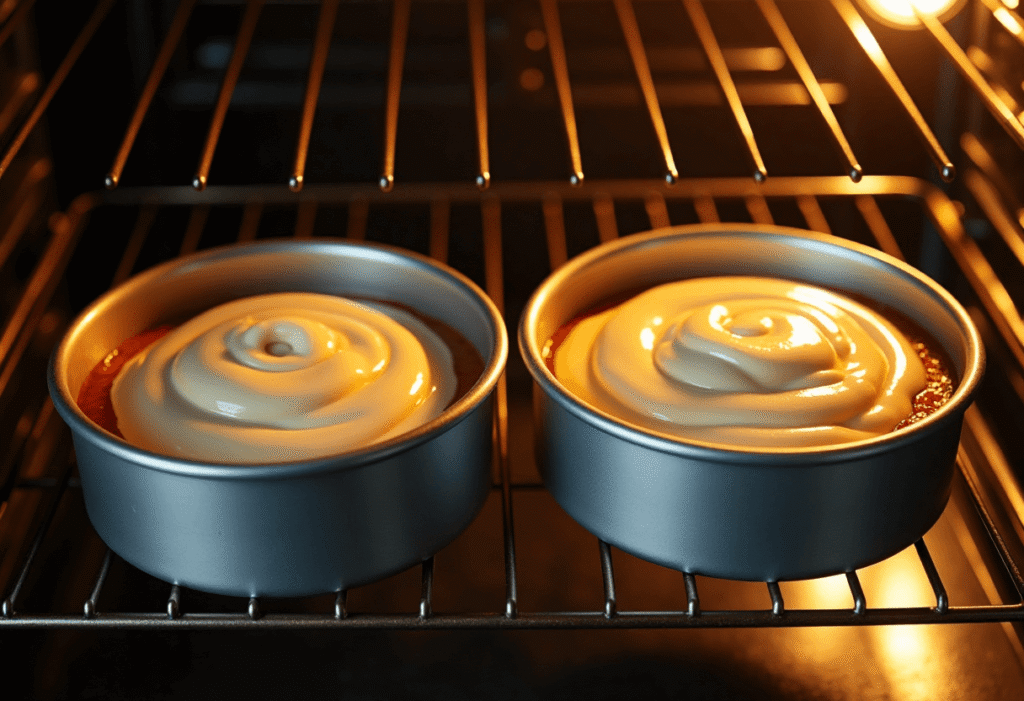
1. Prep and Preheat
Preheat oven to 350°F (175°C). Grease and flour two 8-inch round pans.

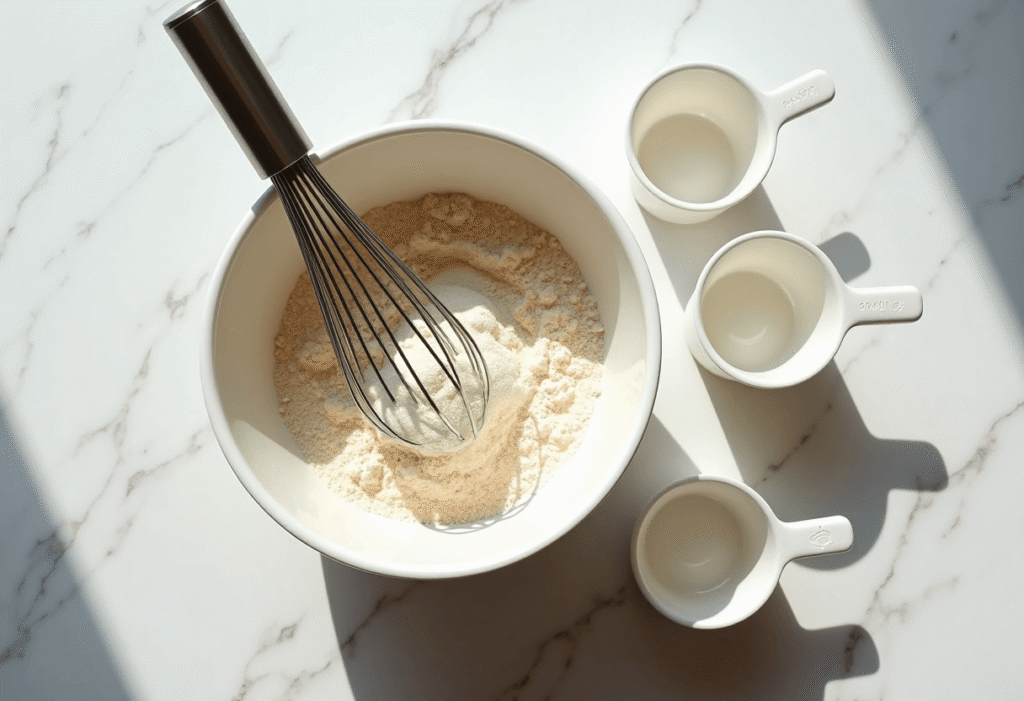
2. Mix Dry Ingredients
In a medium bowl, whisk together flour, baking powder, and salt. Set aside.
3. Cream Butter and Sugar
In a large bowl, beat butter and sugar until light and fluffy, about 2–3 minutes.

4. Add Eggs and Vanilla
Beat in eggs one at a time, then stir in van.

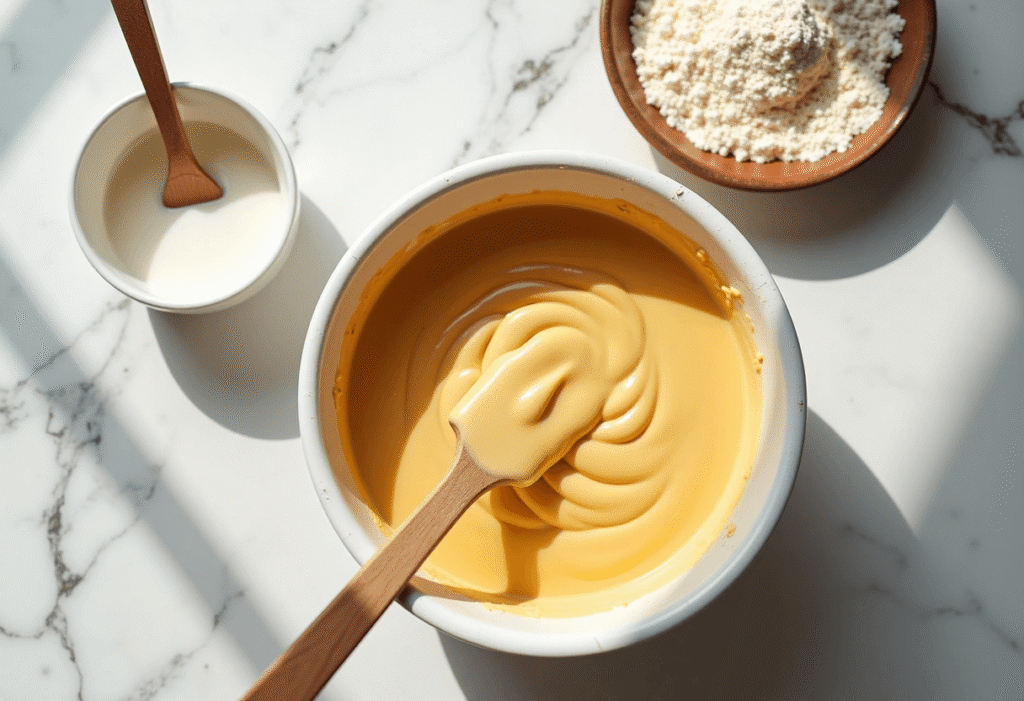
5. Alternate Milk and Flour
Add the dry ingredients in three additions, alternating with the milk. Mix just until combined.
6. Bake
Divide batter evenly between pans and bake 22–25 minutes or until golden and a toothpick comes out clean.
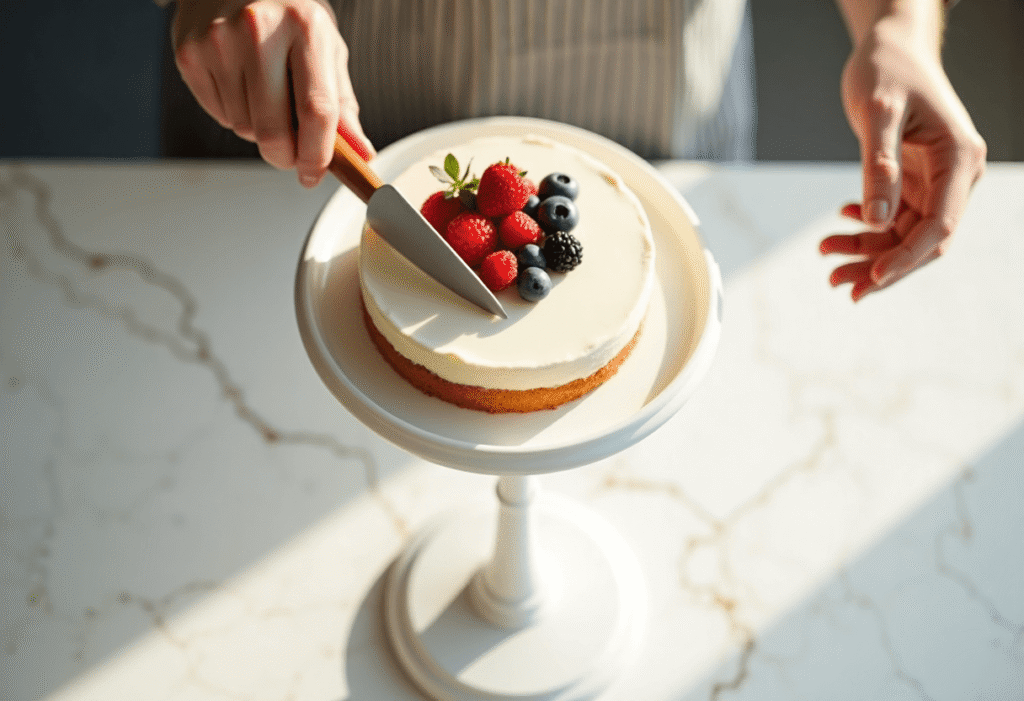
7. Cool and Frost
Let cakes cool completely. Beat together frosting ingredients until smooth. Frost the cooled cakes and smooth sides for a clean, minimalistic look.
🧊 Leftovers & Storage
- Store covered at room temperature for 2 days or refrigerate for up to 5 days.
- Leftover slices freeze well—wrap in plastic and place in a freezer-safe container for up to 2 months.
💬 Final Thoughts
This minimalistic cake is proof that less really can be more. Clean, classy, and incredibly delicious—it’s perfect for birthdays, tea parties, or even just a quiet weekend bake with the kids. I’d love to hear how you decorated yours! Drop a comment or question below if you gave this one a try.
Leave a Reply